

Vintage style has a way of making any space feel warm, cozy, and full of personality. And when it comes to decorating your garden or home, clay pots are the perfect canvas for creating that nostalgic, timeless vibe. Whether you want to display flowers on a sunny windowsill or create a rustic centerpiece, giving your clay pots a vintage makeover can transform ordinary planters into charming works of art.
In this guide, we’ll walk you through simple, fun ways to decorate clay pots so they feel like they belong in a cozy countryside cottage or a chic vintage garden. No special skills required—just a little creativity and patience.
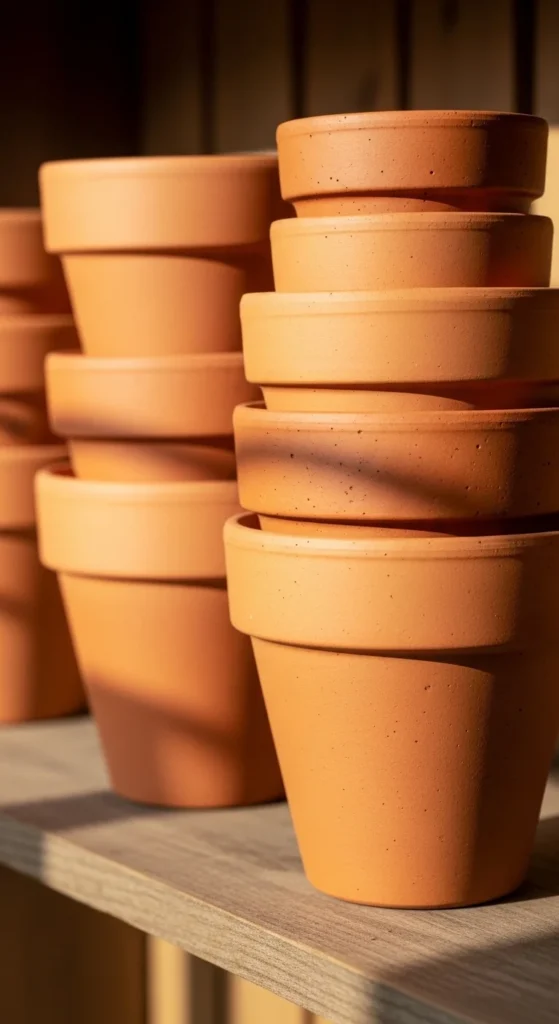
Choose Your Clay Pots Wisely
Before you start decorating, it’s important to pick the right clay pots. Terracotta is ideal because it absorbs paint well and has that classic rustic texture.
Tips for choosing pots:
- Opt for medium to large sizes for more surface to decorate.
- Avoid glossy or pre-painted pots—they’re harder to customize.
- Look for slightly imperfect pots; cracks and uneven edges add vintage charm.
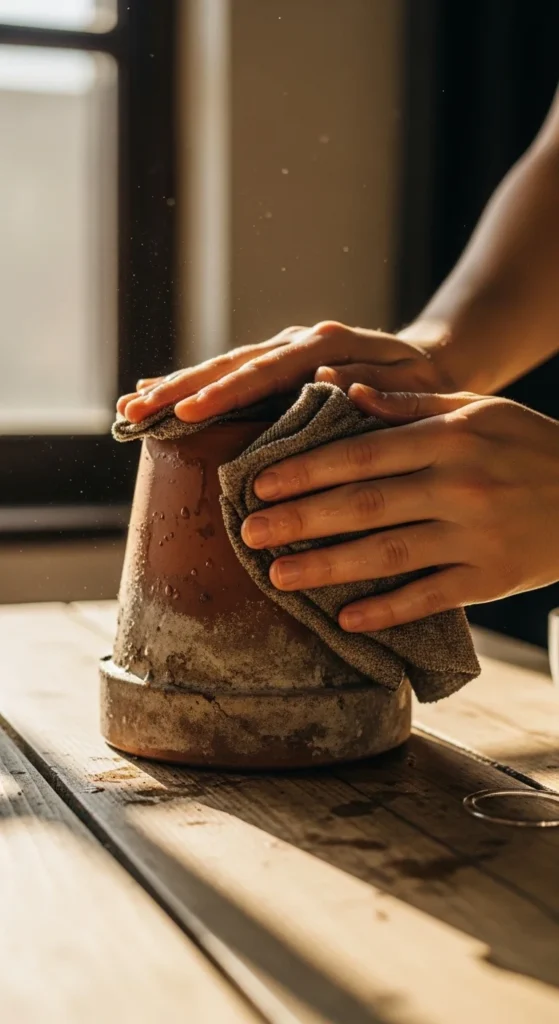
Prep Your Pots for Painting
A smooth, clean surface ensures your paint and decorations will stick properly. Here’s how to prep your clay pots:
- Clean thoroughly – Remove dust, dirt, and any residue with warm soapy water. Let dry completely.
- Lightly sand the surface – This gives your paint a better grip. Use fine-grit sandpaper and wipe off the dust.
- Prime (optional) – If you want bright, lasting colors, apply a thin coat of acrylic gesso or a neutral primer.
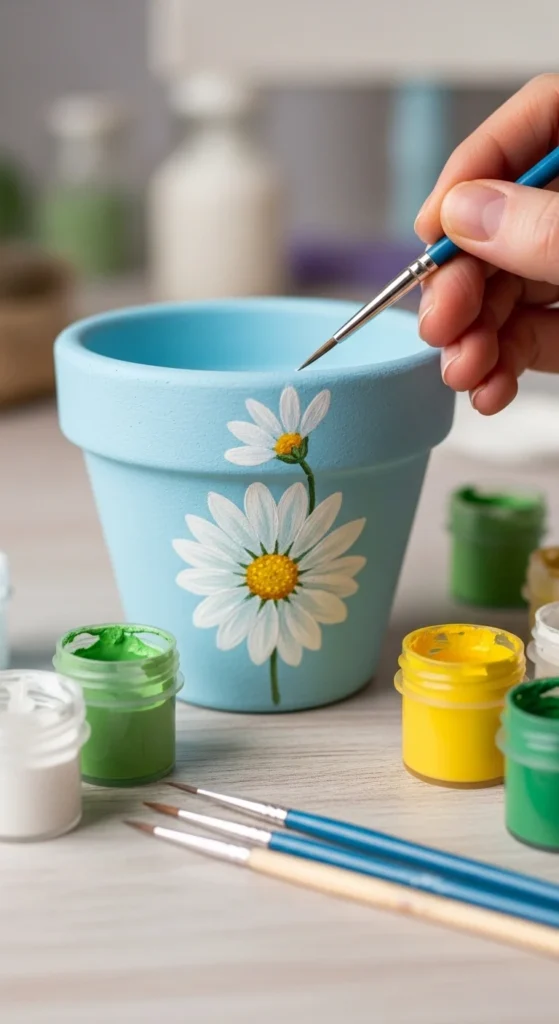
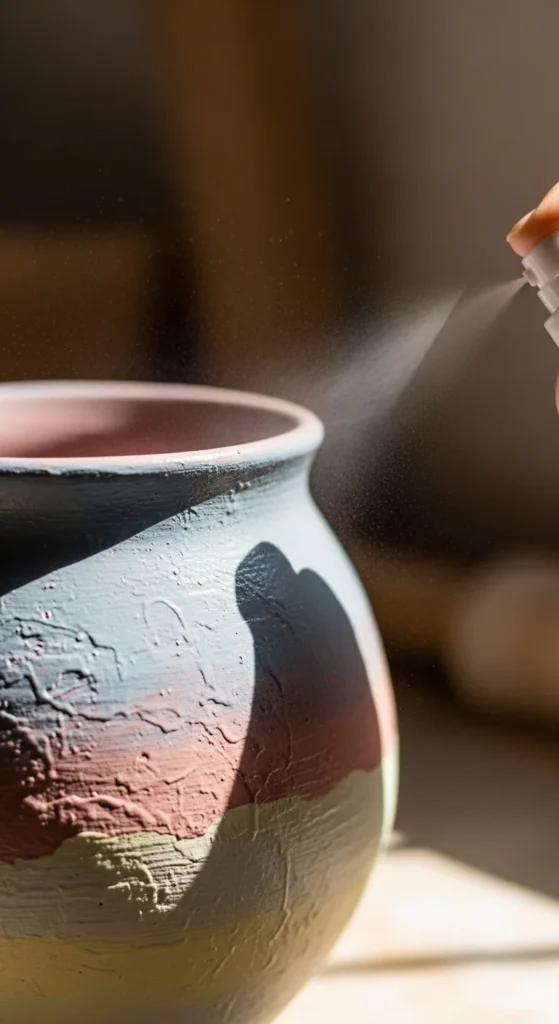
Pick a Color Palette
Vintage style is all about soft, muted colors and natural tones. Think pastel blues, faded pinks, sage greens, and cream. You can also add touches of gold or bronze for a shabby-chic flair.
Color tips:
- Stick to 2–3 complementary colors per pot for a cohesive look.
- Layer colors for a weathered, aged effect.
- Mix matte and slightly glossy finishes for visual interest.

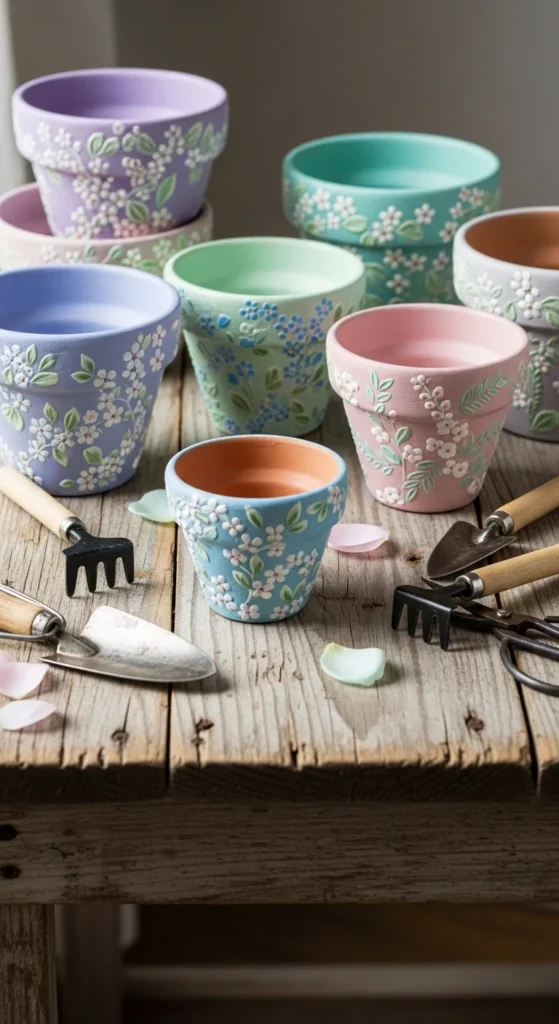
Add Patterns and Designs
Here’s where your personality shines! Vintage-inspired patterns can range from delicate florals to simple geometric shapes.
Ideas to try:
- Floral stencils – Perfect for beginners; paint over stencil and remove carefully for crisp designs.
- Freehand designs – Dots, stripes, or tiny leaves can be charmingly imperfect.
- Decoupage – Use old sheet music, vintage illustrations, or napkins glued onto the pot and sealed with Mod Podge.
- Distressing – Lightly sand painted areas for a weathered, antique look.
Seal Your Masterpiece
Once your pot is decorated and fully dry, sealing it protects your work and gives it longevity—especially if it will be outdoors.
- Use a clear acrylic sealer or matte varnish.
- Apply 2–3 thin coats, letting each layer dry fully.
- Avoid glossy finishes if you want a subtle vintage look.
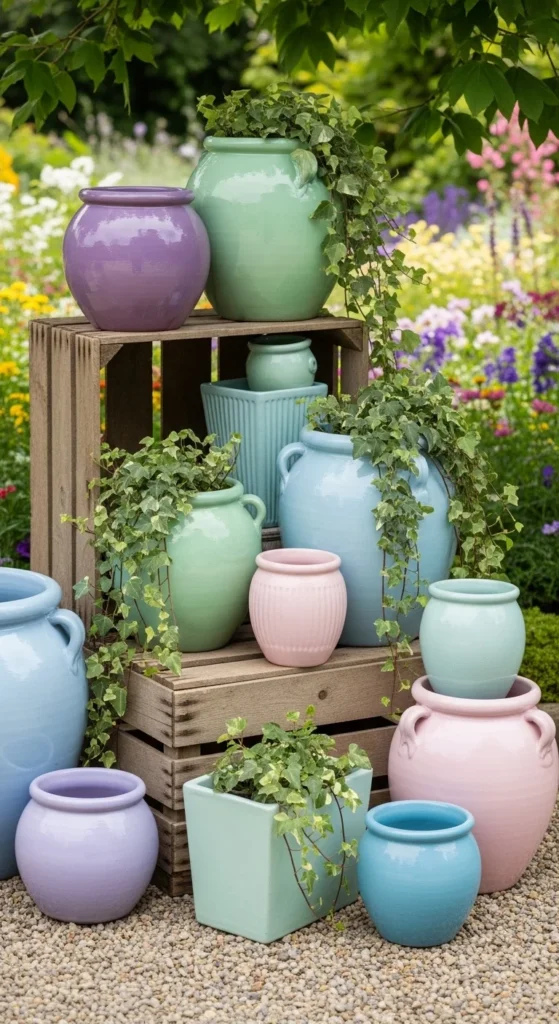
Display Your Vintage Pots
Now comes the fun part—showing off your creations!
Display ideas:
- Arrange a cluster of pots on a wooden bench or windowsill.
- Hang small pots using macramé plant hangers for a boho-vintage feel.
- Pair with old books, lanterns, or vintage trays for charming table displays.
- Combine with trailing plants like ivy or small blooms like pansies and daisies.
Decorating clay pots in a vintage style is more than just painting—they become pieces of art that tell a story. With a few supplies, a little patience, and your creativity, you can turn simple terracotta pots into charming focal points that elevate your home or garden.
Save this guide for your next DIY project and start giving your clay pots a touch of timeless charm today!

Leave a Reply