

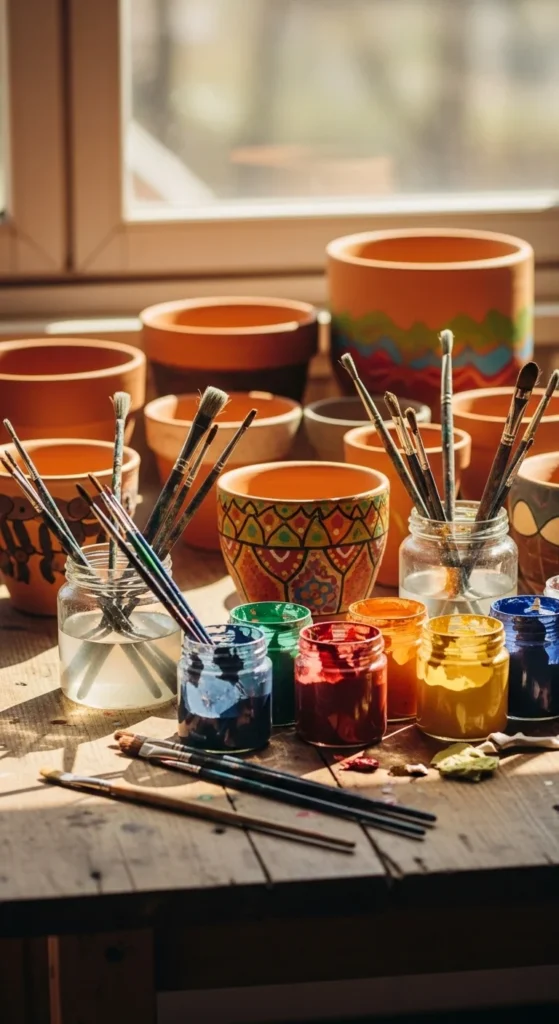
Decorating clay pots can instantly transform your garden, balcony, or indoor space. But why settle for plain terra cotta when you can create a stunning ombre effect that blends colors beautifully from light to dark? This simple yet eye-catching technique makes even the most basic clay pot look like a designer piece.
Whether you’re a seasoned crafter or just starting out, this guide will walk you through every step to achieve a flawless ombre look. Let’s get creative!
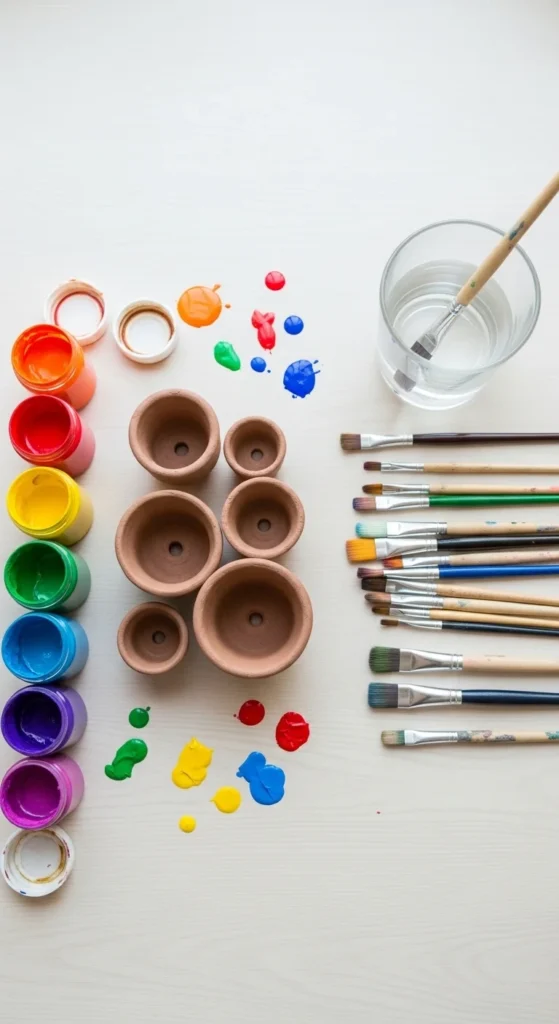
Materials You’ll Need
Before diving in, make sure you have everything on hand. The right materials make the process smooth and enjoyable. Here’s what you’ll need:
- Plain clay pots (terracotta works best)
- Acrylic paint in at least two shades of the same color family
- Paintbrushes (a medium flat brush and a smaller detail brush)
- Water and a small cup for rinsing brushes
- Paper towels or a clean rag
- Painter’s tape (optional, for clean edges)
Tip: Choose colors that transition nicely together—light to dark or two complementary shades for a striking gradient.
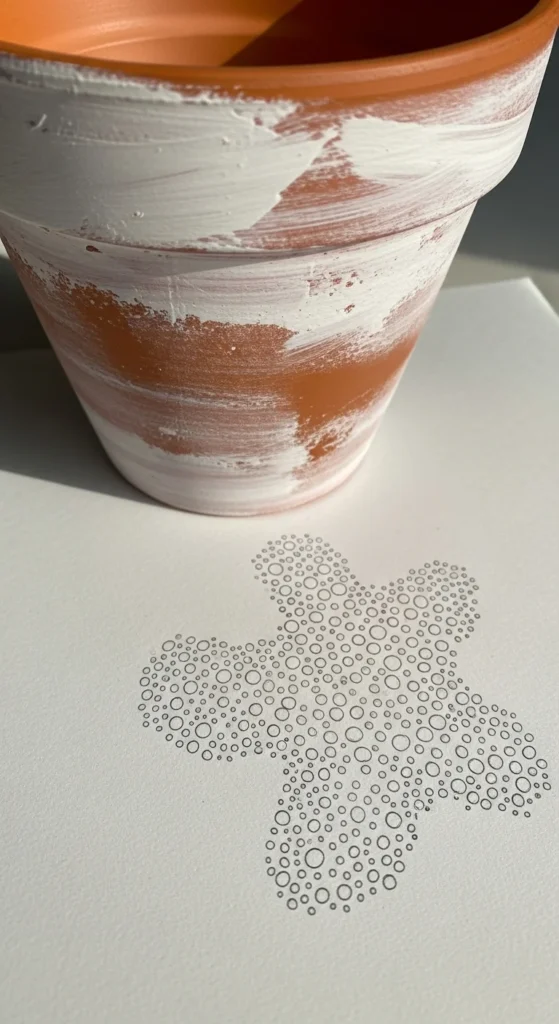
Preparing Your Clay Pots
Preparation is key to a smooth finish. Follow these simple steps:
- Clean the pot – Wash off dust or dirt with soap and water, then let it dry completely.
- Prime (optional) – Applying a coat of white acrylic paint or a primer can make your colors pop.
- Tape off edges – If you want a crisp top rim or base line, use painter’s tape to protect the edges.
Tip: A clean, dry surface ensures the paint adheres evenly and prevents streaking.
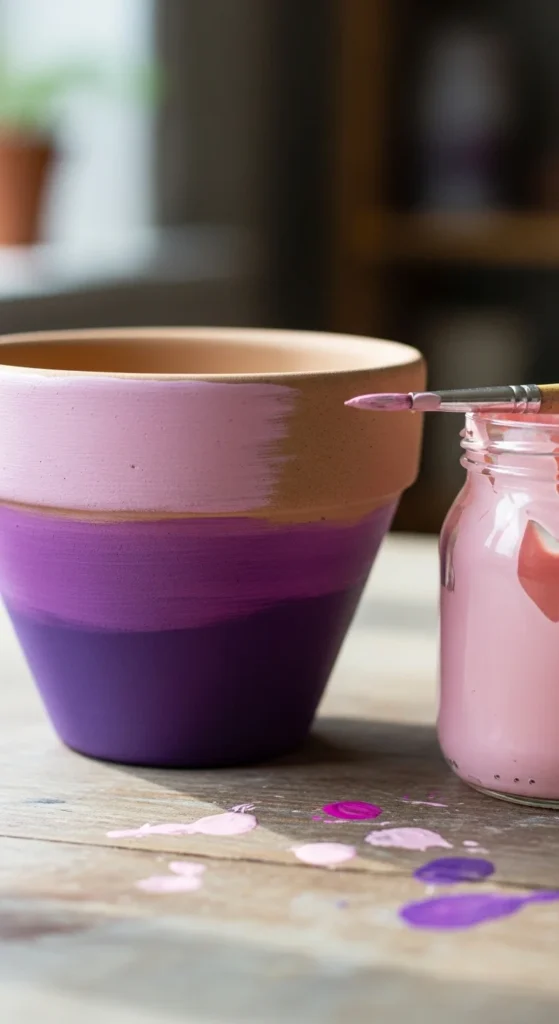
Painting the Ombre Effect
Now comes the fun part—the ombre!
Step 1: Start with the Lightest Shade
- Apply the lightest color to the top third of the pot.
- Use smooth, horizontal strokes for even coverage.
- Don’t worry if it’s not perfect; blending will soften any uneven lines.
Step 2: Add the Medium Shade
- Paint the middle third with the medium shade.
- While the paint is still wet, gently blend it into the lighter color using short, feathery strokes.
- You can use a damp brush to help merge the colors seamlessly.
Step 3: Finish with the Darkest Shade
- Apply the darkest color to the bottom third.
- Blend the top edge into the medium shade.
- Step back occasionally to check the gradient—it should look smooth and natural.
Tip: Work quickly while the paint is still wet for the smoothest transitions.
Adding Details and Sealing
Once the base ombre is dry, you can add optional touches:
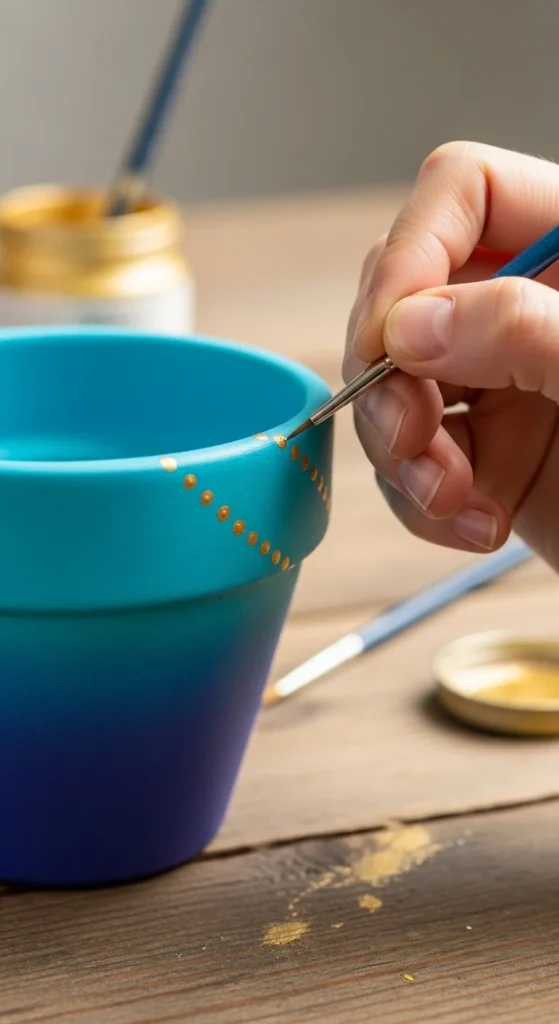
- Patterns – Use a fine brush to paint simple stripes, dots, or geometric shapes.
- Metallic accents – Gold or silver highlights can elevate the look.
- Seal the pot – Spray or brush on a clear acrylic sealer to protect your masterpiece, especially if it will be outdoors.
Tip: Let each layer dry completely before adding new details to prevent smudging.
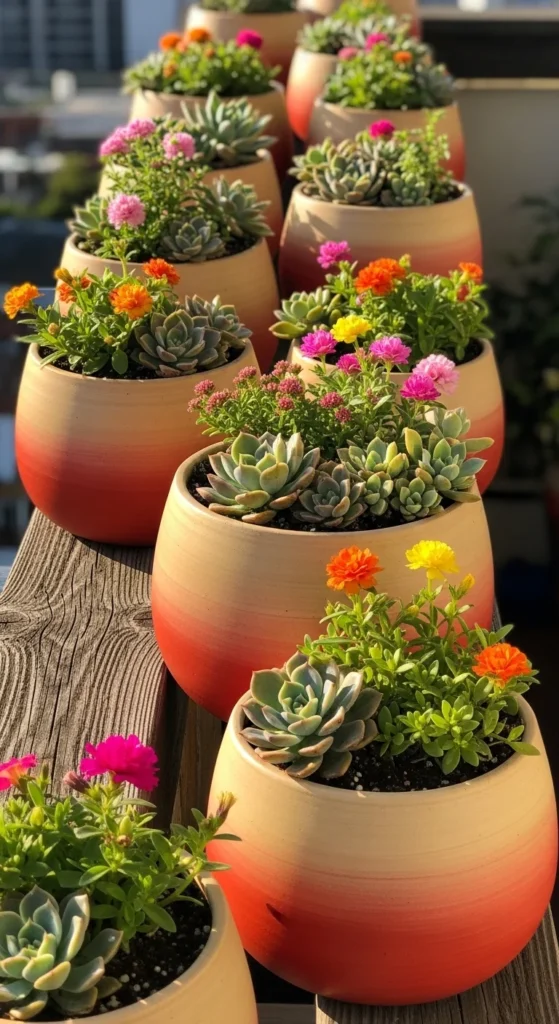
Styling Your Ombre Pots
Your beautifully painted pots deserve a showcase! Here’s how to style them:
- Group them in clusters – Vary sizes and colors for a Pinterest-worthy display.
- Add plants – Succulents, herbs, or small flowers look stunning against an ombre backdrop.
- Mix textures – Pair your pots with natural elements like stones, wicker baskets, or wooden trays.
Final Tips
- Always test your colors on a small area before committing to the whole pot.
- Don’t be afraid to experiment with unconventional color combinations.
- Keep brushes clean between shades to maintain crisp color transitions.
Ombre clay pots are a fun, creative project that adds a personal touch to any space. Once you master this technique, you can try multiple colors, patterns, or even paint entire sets for gifts.
Save this guide and start transforming your clay pots today!

Leave a Reply