

Blank walls can feel intimidating. You know they need something, but store-bought art often feels expensive, generic, or just not you. The good news? DIY wall art is one of the easiest ways to personalize your space—and you don’t need to be an artist to make it look amazing.
This guide walks you through simple, stylish ways to create wall art that instantly upgrades your room. Think easy materials, flexible ideas, and results that feel intentional—not crafty chaos.
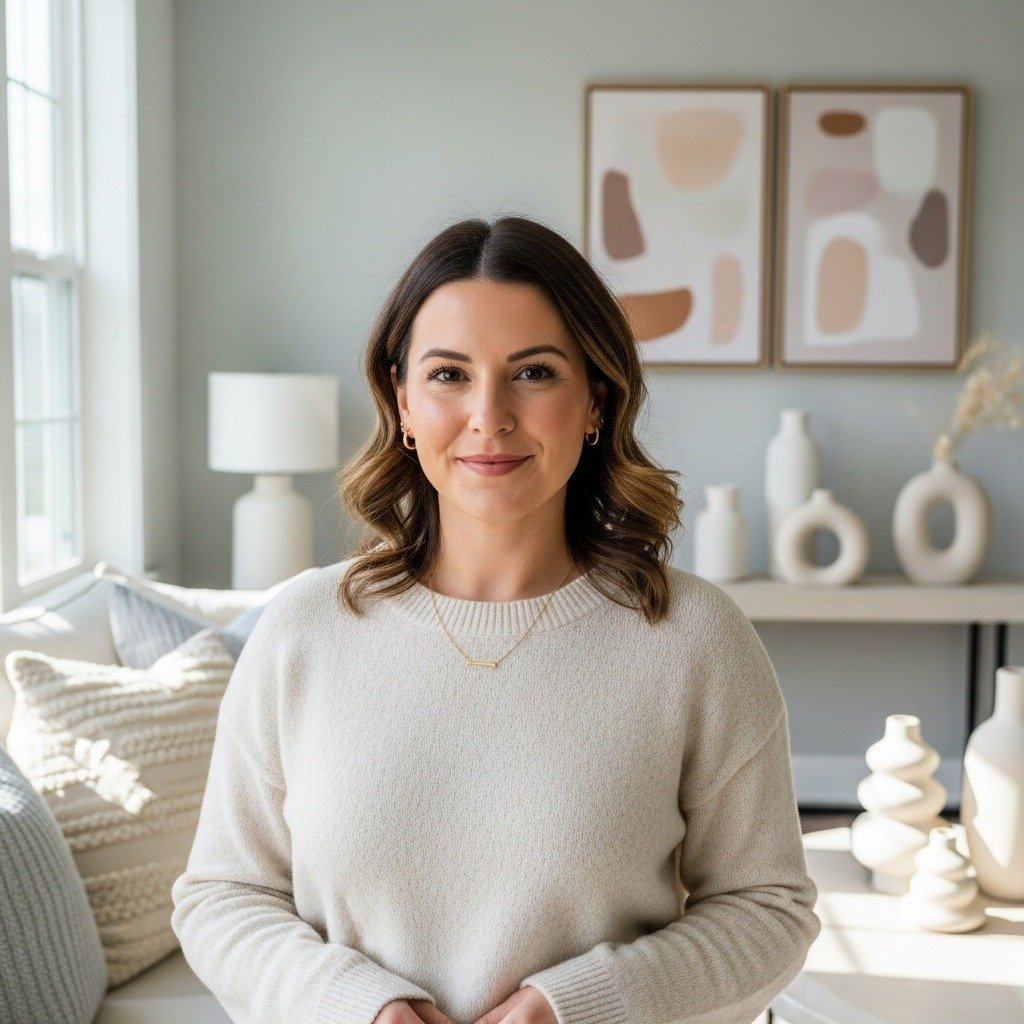
Start With a Clear Vision for Your Wall
Before picking up supplies, step back and look at your wall like a designer would.
Ask yourself:
- Is this wall meant to feel bold or calm?
- Do you want one large statement or a grouped gallery?
- What colors already exist in the room?
A clear vision prevents wasted time and half-finished projects.
Quick planning tips:
- Take a photo of your wall and sketch ideas digitally or on paper
- Stick to 2–4 main colors for a cohesive look
- Decide on mood: modern, cozy, playful, or minimal
When your direction is clear, every DIY choice becomes easier.
Choose Beginner-Friendly DIY Wall Art Styles
You don’t need advanced skills—just the right approach. These styles are forgiving and high impact.
Easy options to try:
- Abstract canvas art using paint, sponges, or palette knives
- Textured art with plaster, joint compound, or modeling paste
- Framed fabric or wallpaper samples
- Line art drawings using black paint pens
- Paper cut shapes arranged in patterns
[Image Prompt] Close-up of hands creating abstract wall art on a canvas using neutral paint tones and a palette knife, soft natural lighting, clean workspace.
Choose one style and repeat it across multiple pieces for a polished look.
Create Large-Scale Art on a Budget
Big wall art makes a room feel intentional—but large pieces don’t have to cost a lot.
Budget-friendly ideas:
- Use drop cloths or canvas fabric instead of framed canvases
- Create diptych or triptych sets with smaller canvases
- Stretch fabric over wooden frames for oversized impact
Simple technique for large abstract art:
- Paint the base color
- Add one or two accent shades
- Blend loosely—imperfection adds character
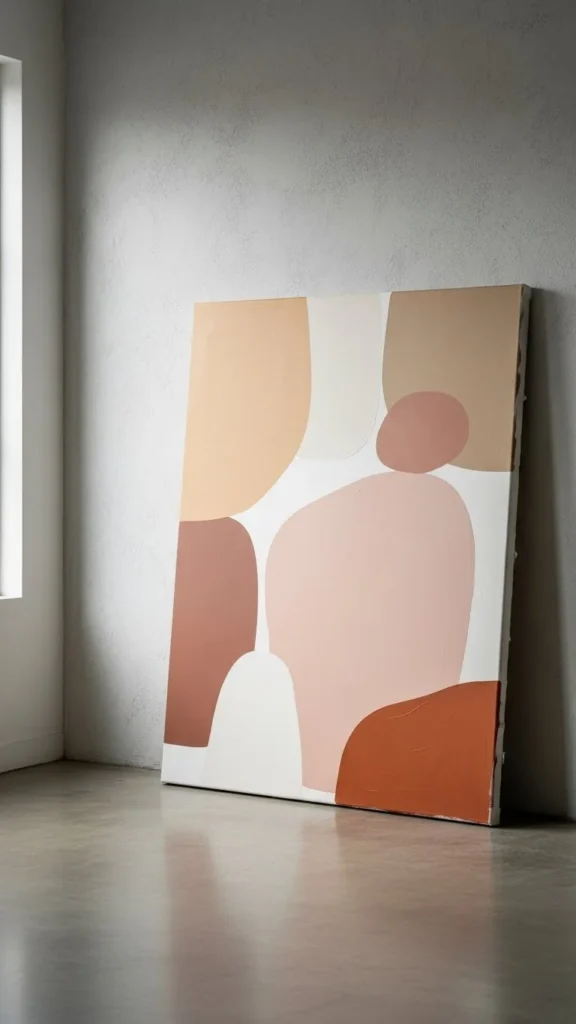
Large art works especially well above sofas, beds, and dining tables.
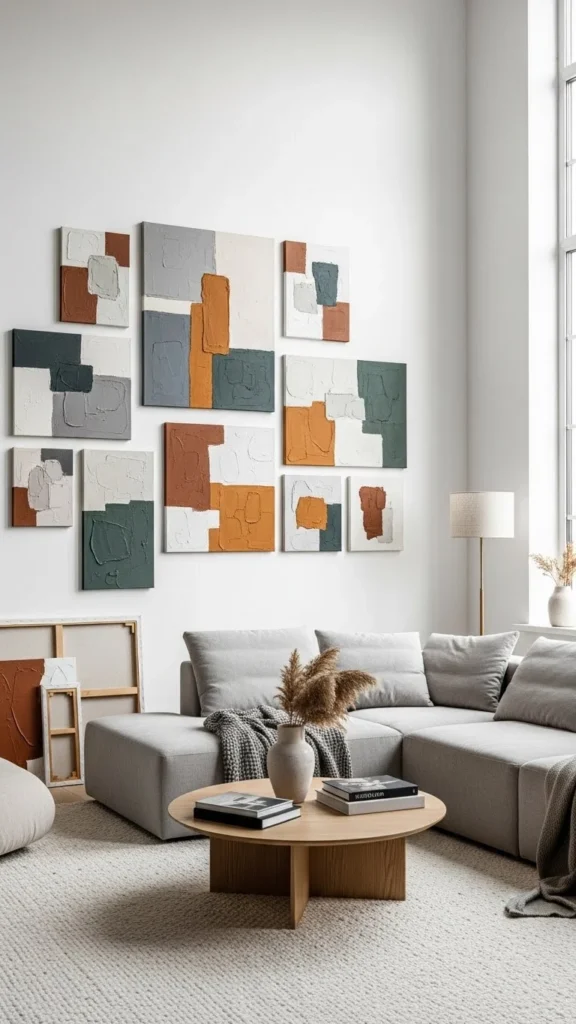
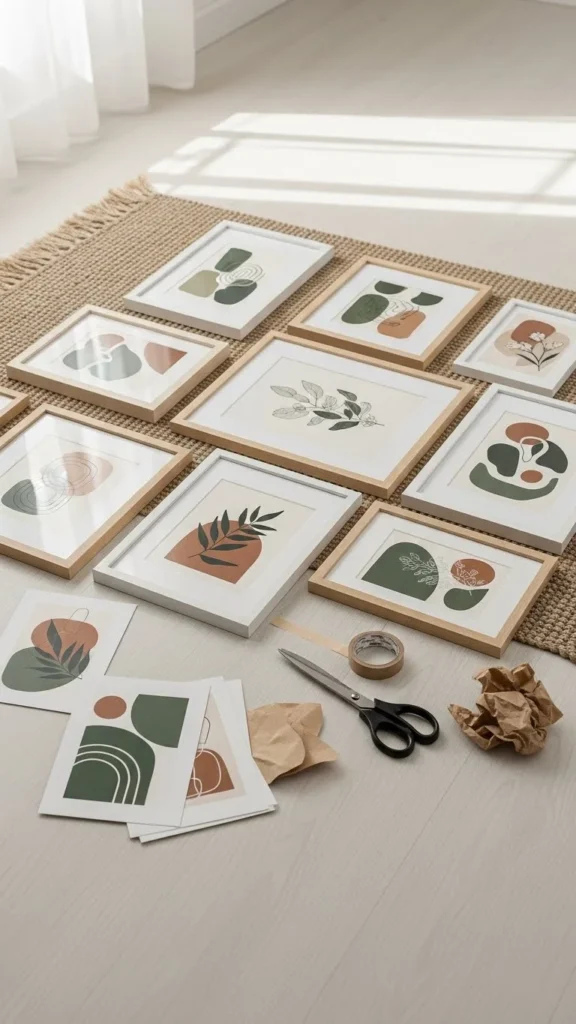
Design a Gallery Wall That Feels Balanced
Gallery walls are perfect for filling awkward or narrow spaces—but balance is key.
Before hanging:
- Lay everything out on the floor
- Keep spacing consistent
- Mix sizes, but repeat colors or frame styles
Gallery wall elements can include:
- DIY art prints
- Simple sketches
- Pressed plants
- Textured paper art
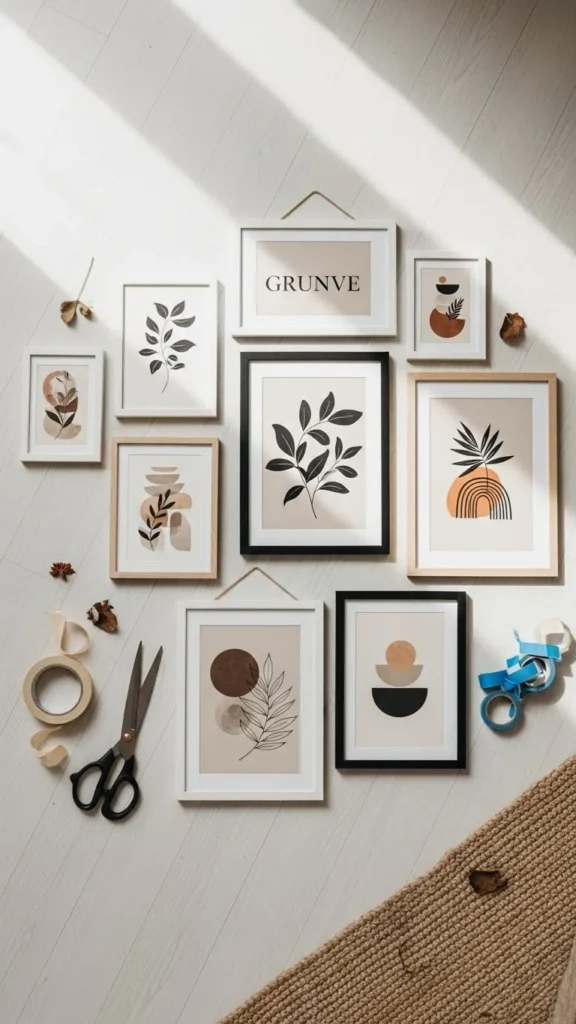
A cohesive gallery wall tells a story—and DIY pieces make it feel personal.
Add Texture for a Designer Look
Texture instantly elevates wall art and makes it feel high-end.
Easy ways to add texture:
- Use thick paint applied with a spatula
- Layer torn paper or fabric
- Try raised patterns with stencils
Neutral textured art works in almost any room and pairs beautifully with modern or cozy décor.
Let texture do the talking—no bold colors needed.
Hang and Style Your Art Thoughtfully
Even great art can fall flat if it’s hung poorly.
Hanging guidelines:
- Center art at eye level
- Leave 6–8 inches above furniture
- Use painter’s tape to test placement
Finish the look by styling nearby:
- Add a plant
- Place a lamp or side table nearby
- Keep surrounding décor simple
This makes your wall art feel intentional, not accidental.
Final Takeaway
DIY wall art isn’t about perfection—it’s about personality. With simple materials, a clear plan, and a bit of creativity, you can turn blank walls into meaningful focal points that truly reflect your style.
Save this guide for later and start transforming your walls this weekend!
Leave a Reply