

There’s something magical about wall art when it’s hung just right. It can make a room feel calm, intentional, and beautifully pulled together. Hang it a few inches too high or too low, though, and suddenly the space feels “off” — even if you can’t explain why. The good news? Perfect visual balance isn’t about strict rules or fancy tools. It’s about a few smart guidelines and trusting your eye.

In this guide, you’ll learn simple, practical steps to hang wall art with confidence — whether you’re styling one statement piece or an entire gallery wall.
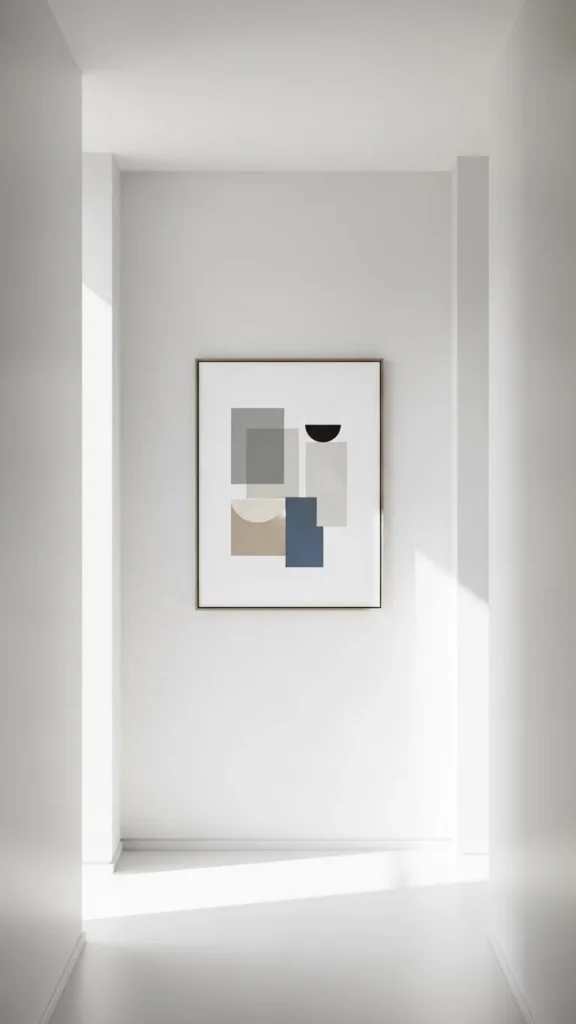
Start With the Right Height (The Golden Rule)
If there’s one rule that designers swear by, it’s this: art should usually be hung at eye level.
For most homes, that means:
- The center of the artwork should sit about 57–60 inches from the floor
- This aligns with average eye height and feels natural when standing or walking through the room
Helpful tips:
- Measure the height of your frame
- Divide it in half
- Position that midpoint at eye level
If you’re hanging art above furniture:
- Leave 6–8 inches between the bottom of the frame and the top of the furniture
- This keeps the art visually connected instead of floating awkwardly
Balance the Art With the Furniture Below
Wall art should feel like part of the furniture arrangement, not an afterthought. A common mistake is choosing art that’s too small for the space.
A simple guideline:
- Artwork (or a group of frames) should be about two-thirds the width of the furniture below it
For example:
- Above a sofa? Choose a large piece or a grouped arrangement that spans most of the sofa’s width
- Above a console table? Match the visual weight, not the exact size
Ways to create balance:
- Use one large statement piece
- Combine 2–3 medium frames side by side
- Build a gallery wall that fills the space evenly
If it feels undersized, it probably is. Trust that instinct.
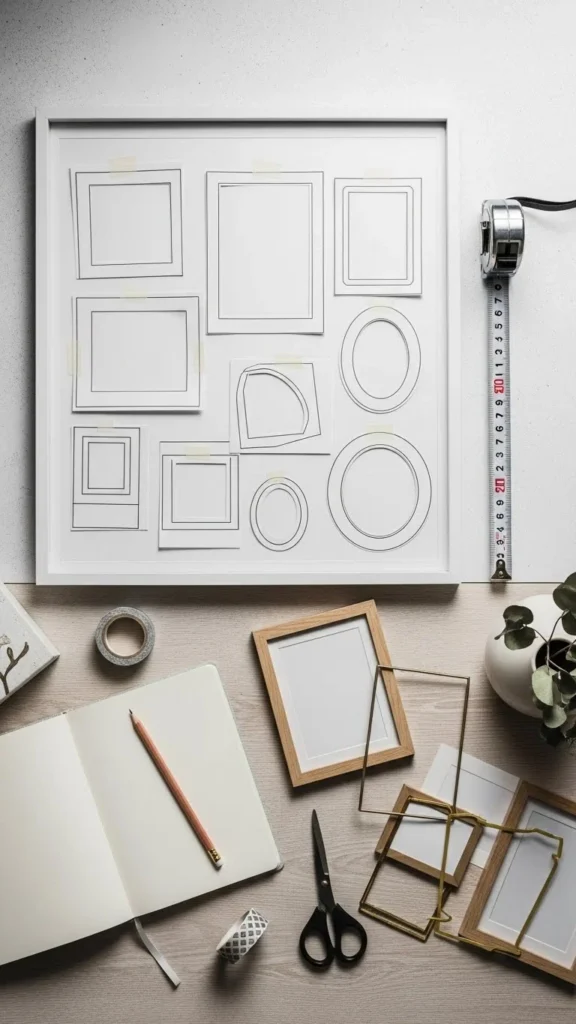
Plan Your Layout Before Hammering Anything
Before committing to nail holes, take time to plan. This step saves frustration and wall repairs later.
Easy planning methods:
- Lay frames on the floor and arrange them until it feels right
- Trace each frame on paper, cut them out, and tape them to the wall
- Use painter’s tape to outline the shape of each frame
Things to watch for:
- Even spacing between frames (2–3 inches is a safe range)
- Consistent alignment across the top, bottom, or center
- Overall shape that feels intentional (rectangle, square, or gentle curve)
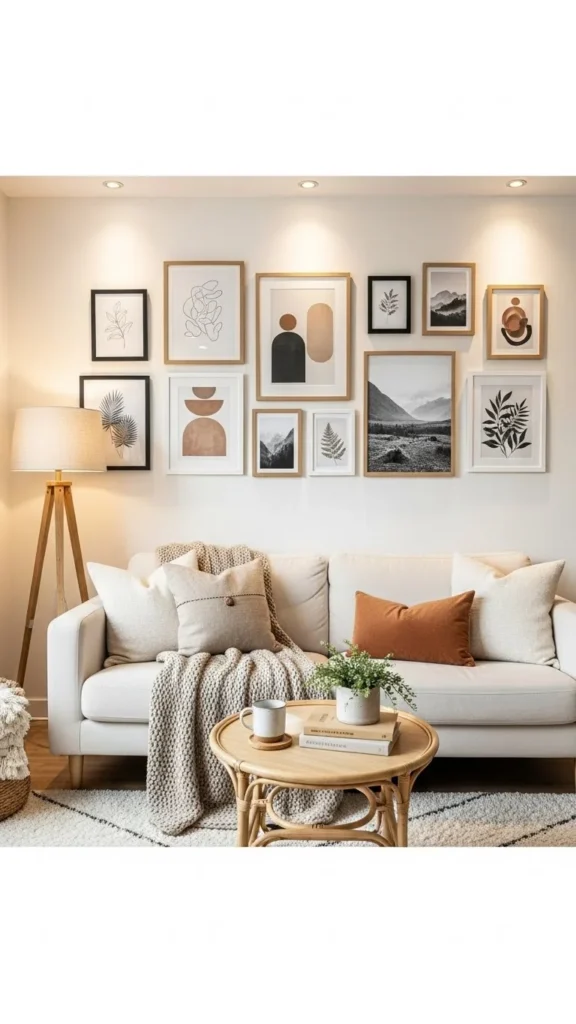
Create Visual Flow With Gallery Walls
Gallery walls look effortless when done well — and chaotic when they’re not. The secret is visual balance, not perfect symmetry.
To keep it cohesive:
- Stick to a consistent color palette
- Repeat frame finishes (all black, all wood, or a mix with intention)
- Vary sizes, but not randomly
Popular gallery wall styles:
- Grid layout for a clean, modern feel
- Salon-style for a relaxed, collected look
- Linear row for hallways or above furniture
Start with a central anchor piece, then build outward. Step back often and adjust as needed.
Use Spacing and Breathing Room Wisely
Crowded walls can feel overwhelming, while overly spaced art can feel disconnected. Finding the sweet spot matters.
Spacing guidelines:
- Leave 2–3 inches between frames in a group
- Avoid pushing art too close to corners or ceilings
- Let blank wall space work as part of the design
Remember:
- Empty space isn’t wasted space
- It helps highlight the art you love most
If a wall feels busy, remove one piece and reassess. Often, less really is more.
Adjust for Different Rooms and Situations
Not every room follows the same rules — and that’s okay.
Room-specific tips:
- Bedrooms: Hang art slightly lower for a relaxed, cozy feel
- Dining rooms: Center art based on seated eye level
- Staircases: Follow the angle of the stairs for natural flow
- Tall walls: Stack art vertically or choose oversized pieces
The goal is always the same: make the art feel comfortable and connected to how the space is used.
Final Thoughts: Trust Your Eye and Take Your Time
Perfect visual balance isn’t about perfection — it’s about intention. Measure when needed, step back often, and don’t be afraid to tweak things after they’re hung. Sometimes the smallest adjustment makes the biggest difference.
Once it feels calm, centered, and pleasing to look at, you’ve nailed it.
Save this guide for later and come back whenever you’re styling a new wall!
Leave a Reply