

Decorating a Christmas tree is one of the most magical parts of the season—but making it look polished, cohesive, and magazine-worthy? That’s where a little pro strategy comes in. Whether you love classic elegance, modern minimalism, or full-on festive charm, learning a few stylist-approved techniques can instantly elevate your tree from ordinary to outstanding.
Below, you’ll learn exactly how to decorate a Christmas tree like a professional stylist—step by step, with tips that are easy to follow and budget-friendly.
Start With the Perfect Base
Before adding a single ornament, stylists always begin with the foundation. A full, well-fluffed tree will always look more luxurious.
- Take time to separate every branch and shape it evenly.
- If your tree is slim or slightly sparse, add inexpensive pine picks or faux greenery branches to fill it out.
- Choose a tree skirt or tree collar early—it guides your theme.
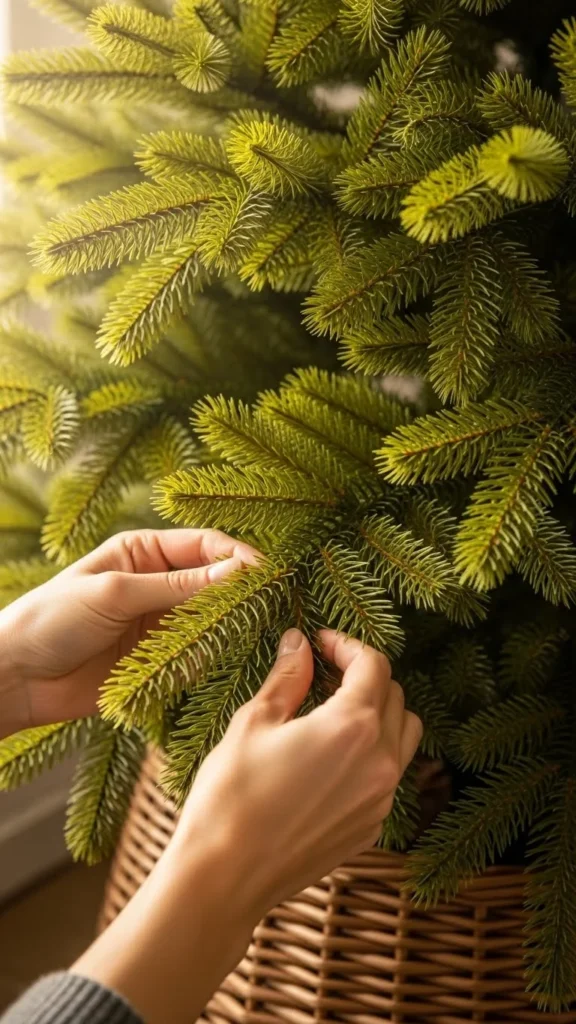
This small step alone makes your tree instantly look fuller, richer, and more expensive.
Choose a Color Palette and Theme
Professionals never decorate without a plan. Decide on the look you want before hanging anything.
Here are a few Pinterest-friendly themes:
- Classic red and gold
- Woodland neutrals
- Black, white, and metallic
- Soft blush and champagne tones
- Bold jewel tones
Pick 2–3 main colors and stick to them for a cohesive finish.
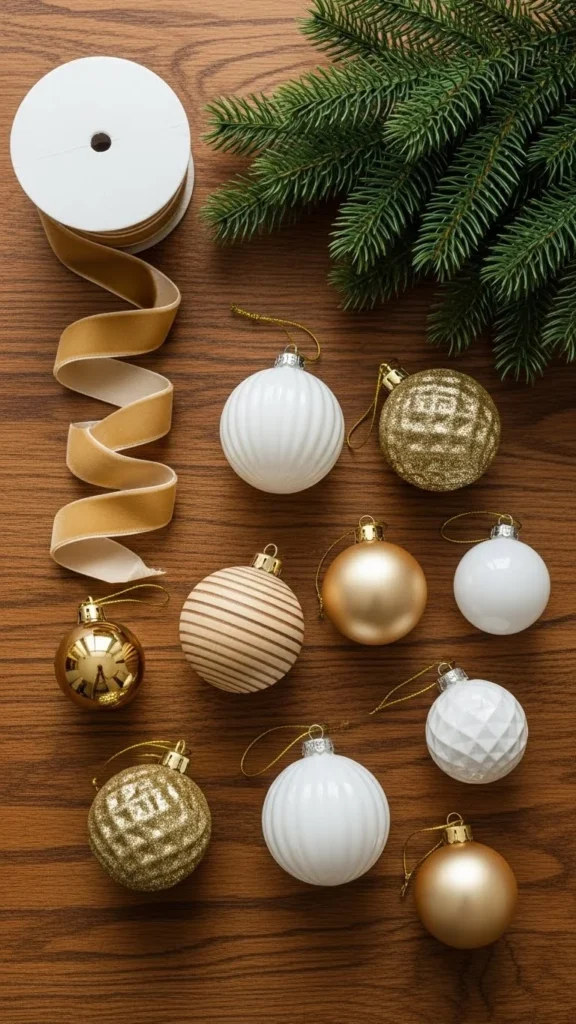
This simple step ensures everything on your tree feels intentional, curated, and stylist-approved.
Layer Your Lights the Right Way
If you’re using a pre-lit tree, you’re a step ahead. But if you’re adding lights manually, stylists have a secret: use more than you think you need.
- Aim for 100 lights per foot of tree height.
- Wind lights deep into the branches, not just on the outer edges.
- Use a mix of micro-lights and traditional bulbs for depth.
The result? A warm, glowing tree that sparkles beautifully from every angle.
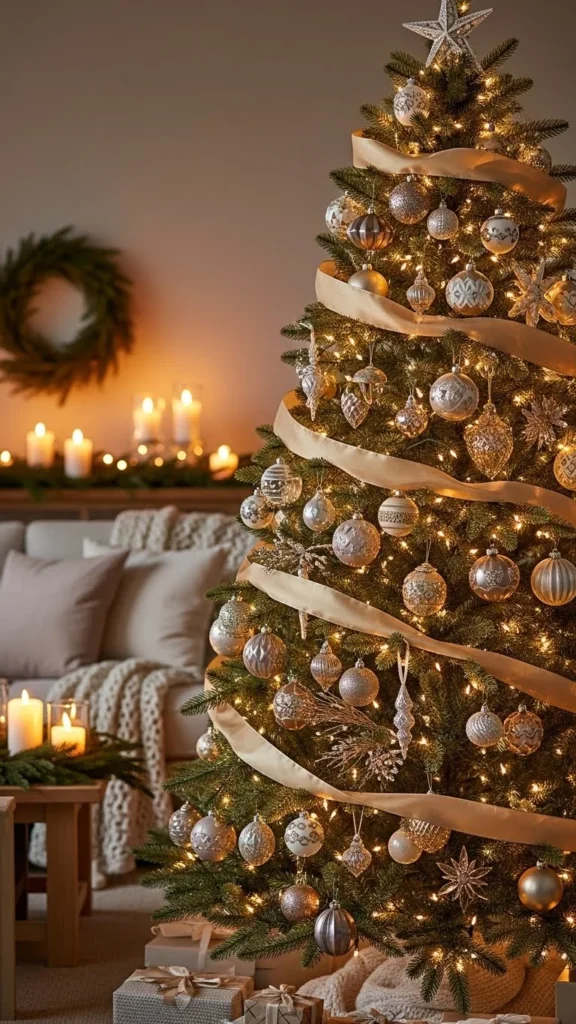
Add Ribbon With a Professional Touch
Ribbon is one of the easiest ways to make your tree look high-end. Instead of wrapping it around the tree like a garland, stylists weave ribbon in and out of the branches.
Tips for pro-level ribbon styling:
- Use wired ribbon so it holds shape.
- Cut ribbon into medium-length strips for easier placement.
- Tuck each end into the branches to create a soft cascading effect.
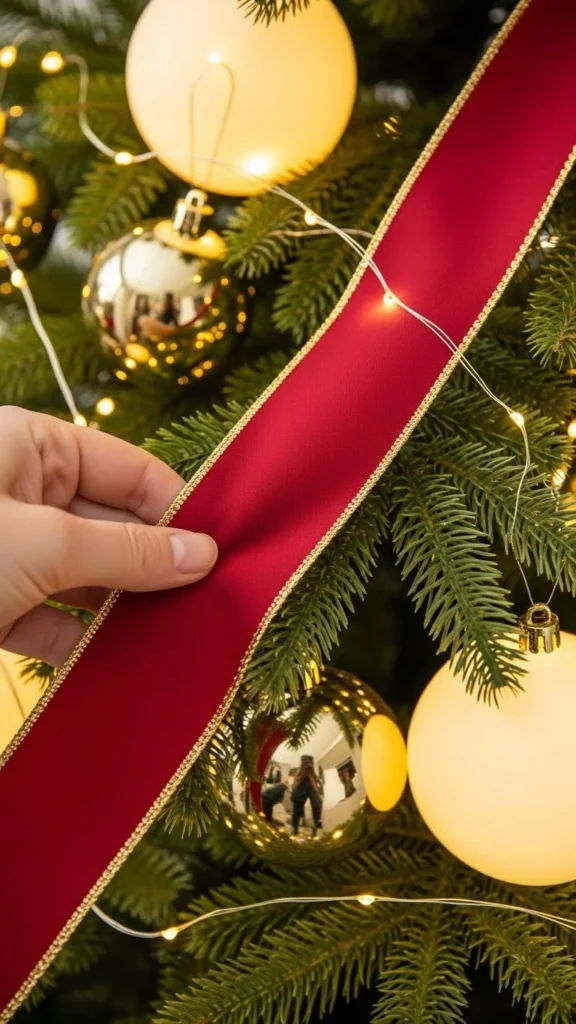
Ribbon instantly softens the tree, adds movement, and ties your color palette together.
Place Ornaments Strategically (Not Randomly)
Stylists don’t simply hang ornaments—they place them with intention.
Here’s how to do it:
1. Start With Large Ornaments
Place your biggest ornaments first, spacing them evenly around the tree to create balance.
2. Add Medium Ornaments for Structure
These fill the gaps and create depth.
3. Finish With Small and Detailed Pieces
These add texture and personality—think bells, snowflakes, or mini figurines.
4. Mix Textures
Use a thoughtful blend of:
- Shiny
- Matte
- Glittered
- Natural materials (wood, felt, woven accents)
This mix keeps your tree visually interesting and dimensional.
Don’t Forget Stems, Picks & Sprays
Professional stylists love adding decorative stems at the end of the decorating process. They give the tree a lush, layered, and almost floral-arrangement feel.
Ideas include:
- Faux eucalyptus
- Red berries (faux)
- Pinecones
- Glittery branches
- Snow-dusted greenery
Insert them where the tree looks sparse or where you want to highlight a section.
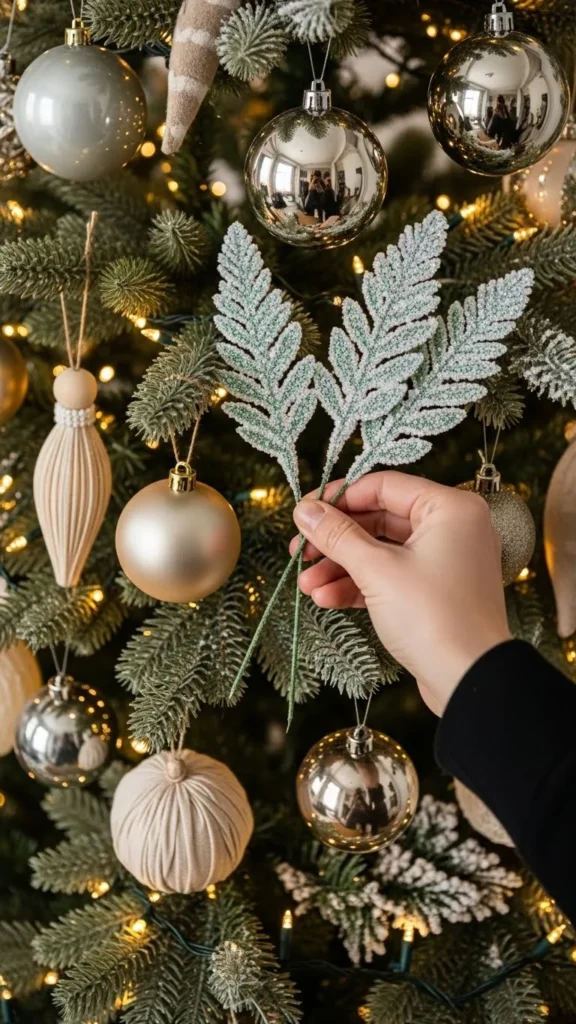
Stems instantly elevate the entire look and fill in any last gaps.
Create a Stunning Tree Topper
Your tree topper is the exclamation point of your design. But it doesn’t have to be a traditional star.
Stylists often use:
- Bundles of decorative picks
- Oversized bows
- Layered ribbons
- Metallic sprays
- A cluster of statement ornaments
The key is to create height and drama without overwhelming the tree.
Keep it consistent with your color palette and let it flow naturally from the top branches.
Style the Base for a Finished Look
Don’t let the bottom of your tree feel forgotten—it’s part of the overall aesthetic.
You can use:
- A tree collar (woven, metal, or wood)
- A textured tree skirt (knit, faux fur, linen)
- Wrapped boxes in coordinating colors
Even empty boxes wrapped in stylish paper can make the tree look more complete and balanced.
Step Back and Edit Like a Stylist
The final step is to step back and look at your tree from different angles.
Ask yourself:
- Are the colors balanced?
- Are the decorations evenly spaced?
- Does anything feel too heavy or too empty?
Make small adjustments until everything feels harmonious. Editing is what turns a “pretty” tree into a professionally styled masterpiece.
Final Takeaway
Save this guide for later and use it every holiday season!
Decorating a Christmas tree like a professional stylist isn’t about spending more—it’s about adding layers, choosing a palette, and placing everything with intention. Use these stylist secrets and your tree will look polished, cozy, and totally Pinterest-worthy.

Leave a Reply