

Are you looking to add a personal, artistic touch to your garden or home? Decorating clay pots with floral designs is a simple and fun way to transform plain terracotta into eye-catching art pieces. Whether you’re a beginner or a seasoned crafter, this project allows you to express creativity while giving your plants a stylish home.
With just a few supplies and a little patience, you can turn ordinary pots into stunning floral masterpieces. Let’s dive into how you can create beautiful designs that will make your plants pop.
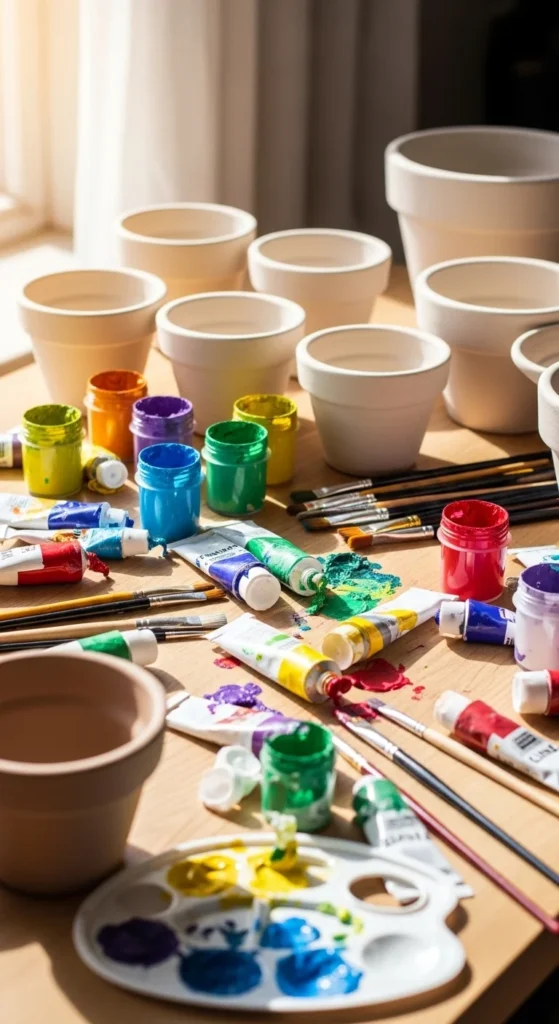
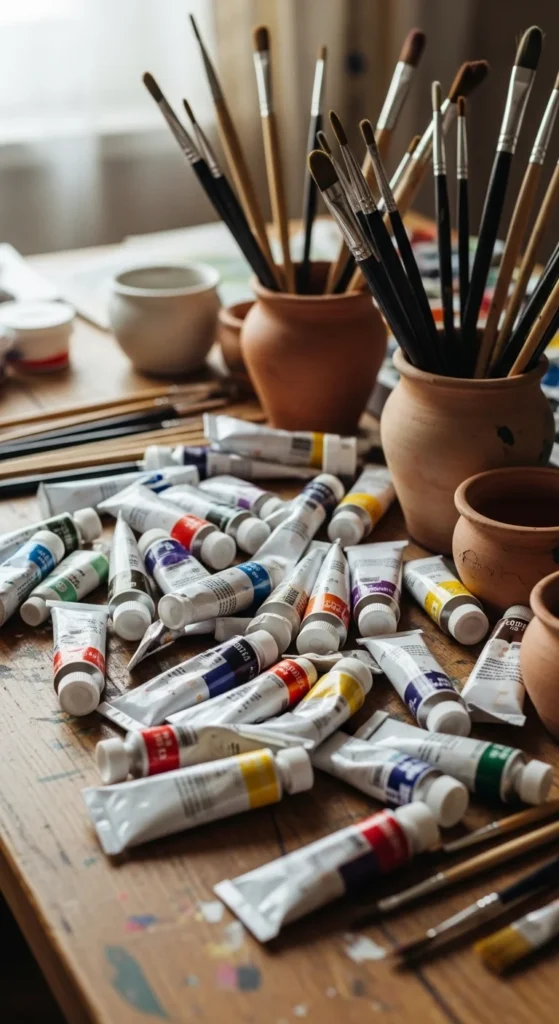
Gather Your Materials
Before starting, make sure you have everything you need to make the process smooth and enjoyable. Here’s a simple list:
- Plain clay or terracotta pots (various sizes)
- Acrylic paints in your favorite colors
- Paintbrushes (small detail brushes work best)
- Pencil (for sketching your design)
- Palette or small dishes for mixing colors
- Water and paper towels for cleaning brushes
- Optional: sealant spray to protect your design outdoors
Having your materials organized will save time and let your creativity flow freely.
Prepare Your Clay Pots
Clay pots often have a dusty or rough surface that can make painting difficult. Preparing them properly ensures your designs stick beautifully.
- Clean the pots – Wash them with warm, soapy water and let them dry completely.
- Smooth the surface – Use fine sandpaper if the pot is rough or has bumps.
- Prime the pot (optional) – Applying a white acrylic base coat can make colors pop, especially lighter shades.
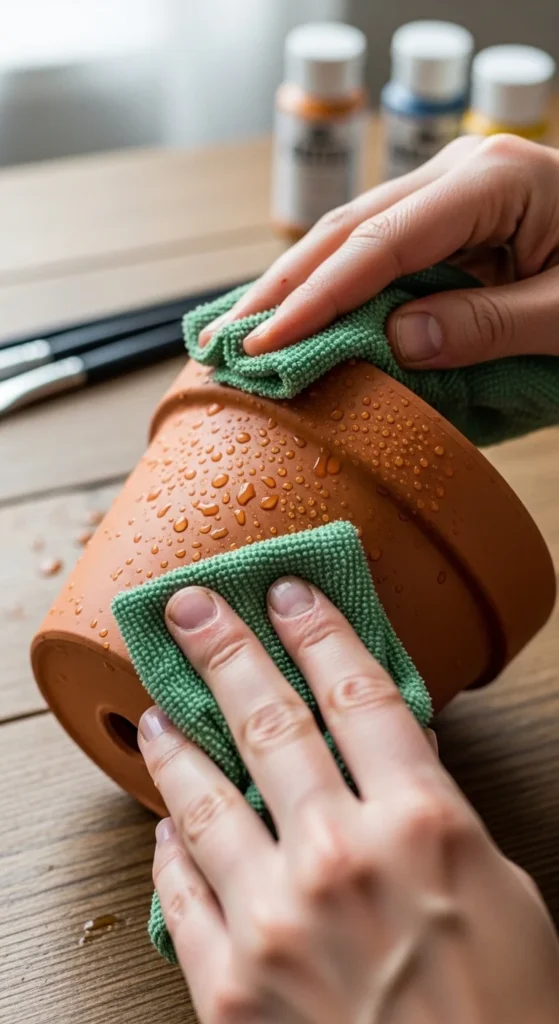
Taking a few minutes to prep your pots will result in smoother, longer-lasting artwork.
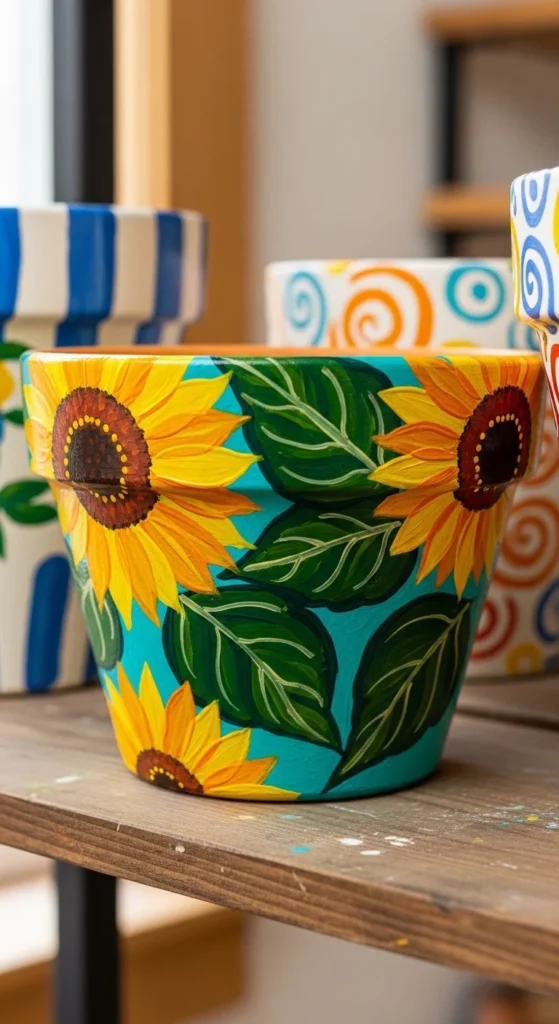
Sketch Your Floral Design
Before picking up a brush, lightly sketch your design with a pencil. This helps guide your painting and prevents mistakes.
- Start simple: Try flowers like daisies, sunflowers, or roses.
- Consider patterns: You can do repeating floral patterns or a single large bloom on each pot.
- Mix it up: Combine leaves, vines, and small buds for a fuller, natural look.
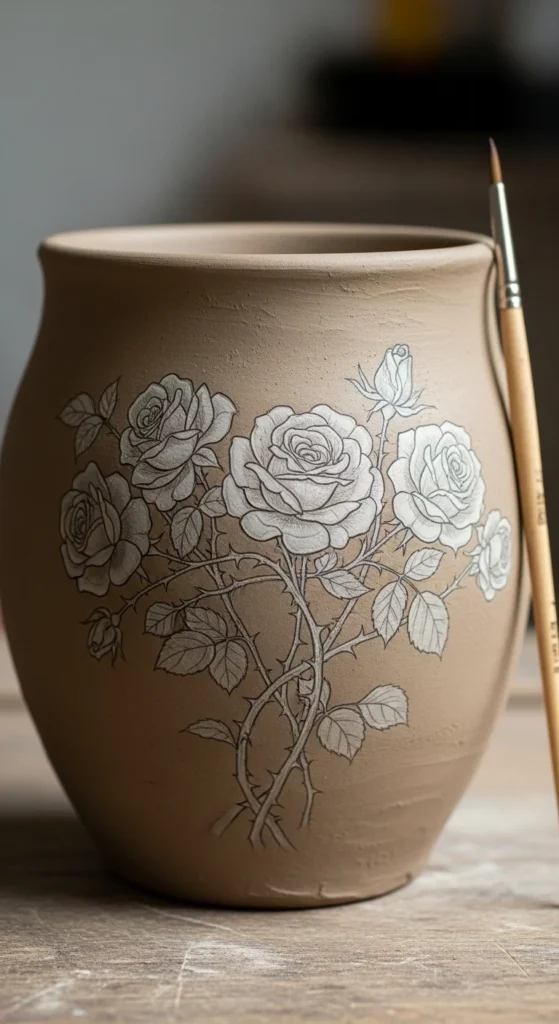
Sketching also allows you to experiment with placement without committing to paint.
Painting Your Floral Designs
Now comes the fun part: bringing your flowers to life with paint!
- Start with base colors: Fill in petals and leaves with flat colors first.
- Add details: Use thinner brushes for veins, dots, or highlights.
- Layering: Let each layer dry before adding another for depth.
- Be playful: Don’t stress about perfection; hand-painted pots have a charming, whimsical look.
Tips for a smooth painting experience:
- Work from light to dark colors.
- Keep a damp cloth nearby to wipe mistakes.
- Rotate the pot as you paint to reach all angles comfortably.
Experimenting with color combinations will make each pot uniquely yours.
Finishing Touches
Once your paint is dry, you can take a few extra steps to protect and enhance your design:
- Seal the paint: A clear acrylic sealant spray protects your pots from water and sunlight if they’re used outdoors.
- Add texture: Consider using a fine glitter coat, or add small decorative stones around the base.
- Accessorize: Tie twine or ribbons around the pot’s rim for extra charm.
These finishing touches ensure your pots not only look beautiful but stay vibrant for seasons to come.
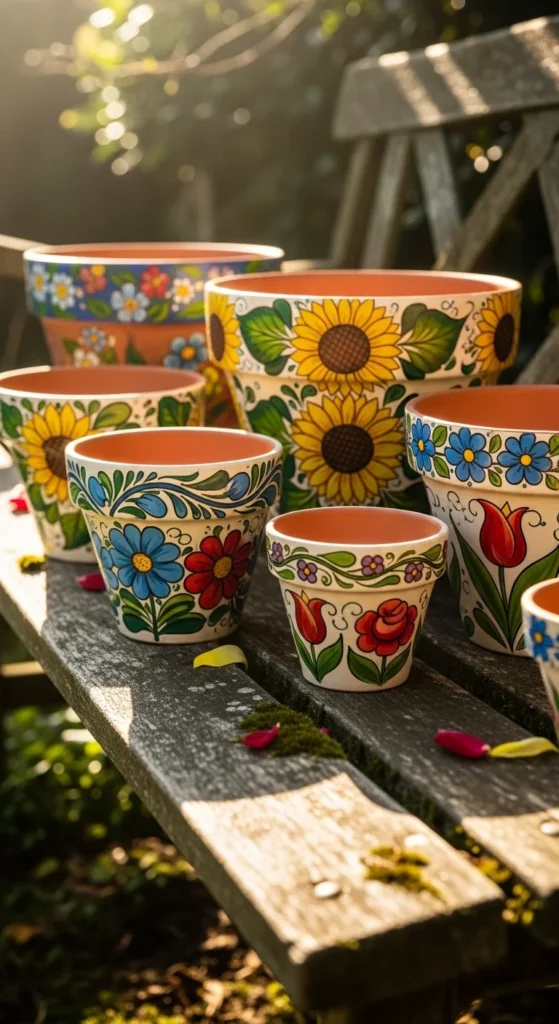
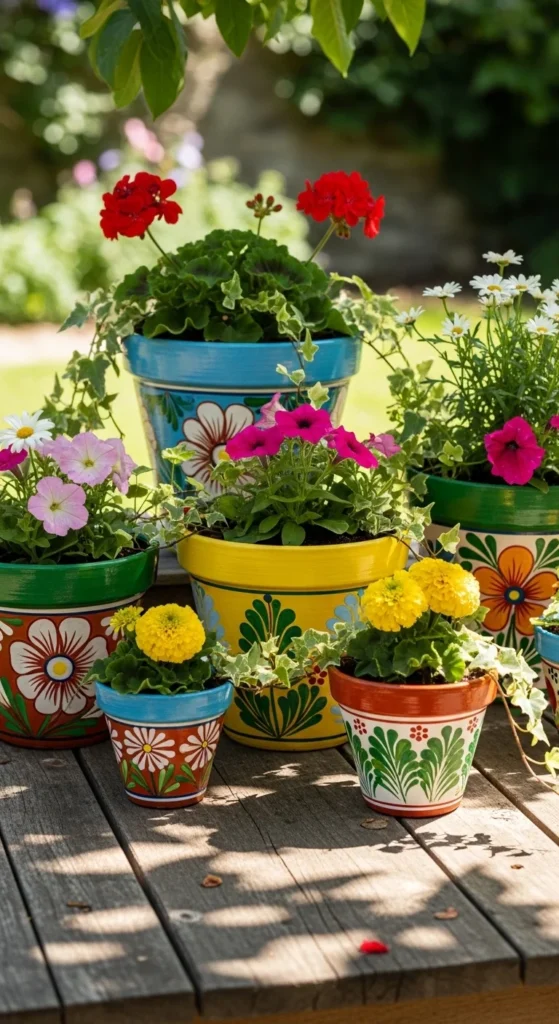
Display Your Floral Pots
Once your pots are ready, it’s time to showcase them!
- Indoor display: Place them on windowsills, shelves, or coffee tables for a cheerful pop of color.
- Outdoor display: Line them along your porch, garden path, or balcony railing.
- Group arrangements: Mix different sizes and designs together for a playful, Pinterest-worthy look.
Decorating your pots is not just a craft—it’s a way to personalize your home and garden, making everyday spaces feel special.
Final Thoughts
Decorating clay pots with floral designs is a creative and rewarding project. From gathering supplies to sketching, painting, and displaying your pots, each step brings a sense of accomplishment and joy. So grab your paints, let your imagination bloom, and turn plain pots into floral masterpieces!
Save this guide and start your DIY floral pot collection today—it’s easier than you think!

Leave a Reply