

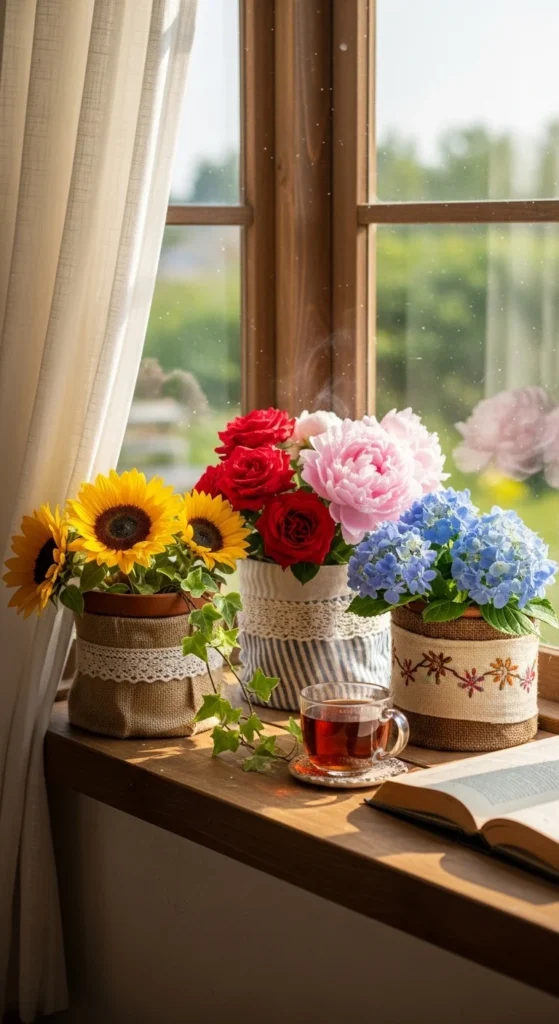
Transform your clay pots into beautiful, cozy decor with fabric! Whether you’re looking to brighten up your garden, living room, or any indoor space, fabric-wrapped clay pots are the perfect way to add texture, color, and charm to any setting. This simple DIY project is fun, easy, and incredibly customizable, making it a perfect way to give your planters a new life.
Why Fabric and Clay Pots Make the Perfect Match
Before diving into the step-by-step guide, let’s talk about why fabric and clay pots work so well together. Clay pots are sturdy, practical, and durable, but they can sometimes feel a little too plain. Adding fabric brings warmth and personality, making them look unique and charming. Whether you want a rustic farmhouse vibe, a boho chic style, or a cozy winter look, fabric is the perfect way to add that extra touch.
Materials You’ll Need
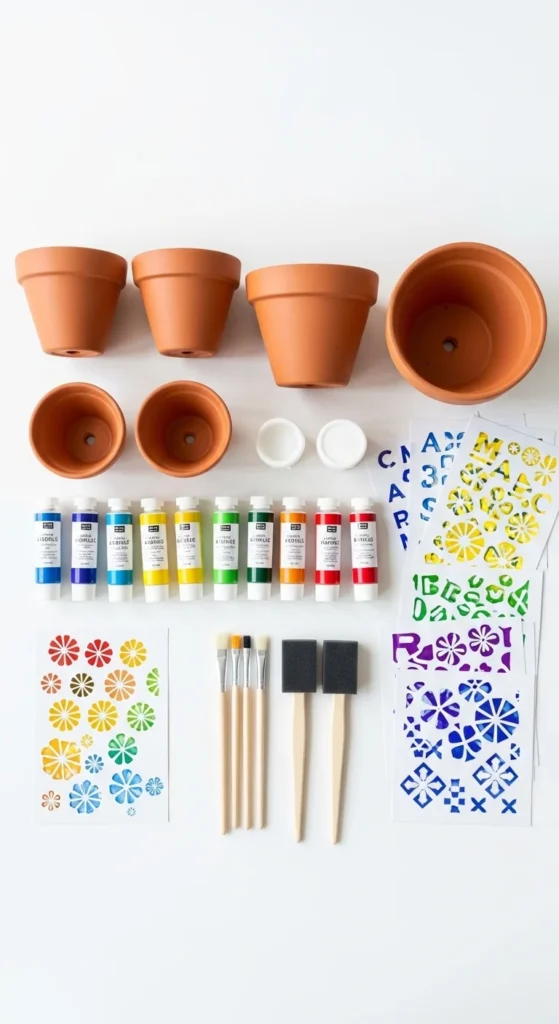
Gather the following materials before starting your DIY project:
- Clay pots (the size and shape are up to you)
- Fabric (choose fabrics that fit the style you want – cotton, burlap, felt, or patterned fabric)
- Hot glue gun and glue sticks
- Scissors
- Measuring tape or ruler
- Pencil or fabric chalk
- Decorative embellishments (optional: buttons, ribbons, lace, or beads)
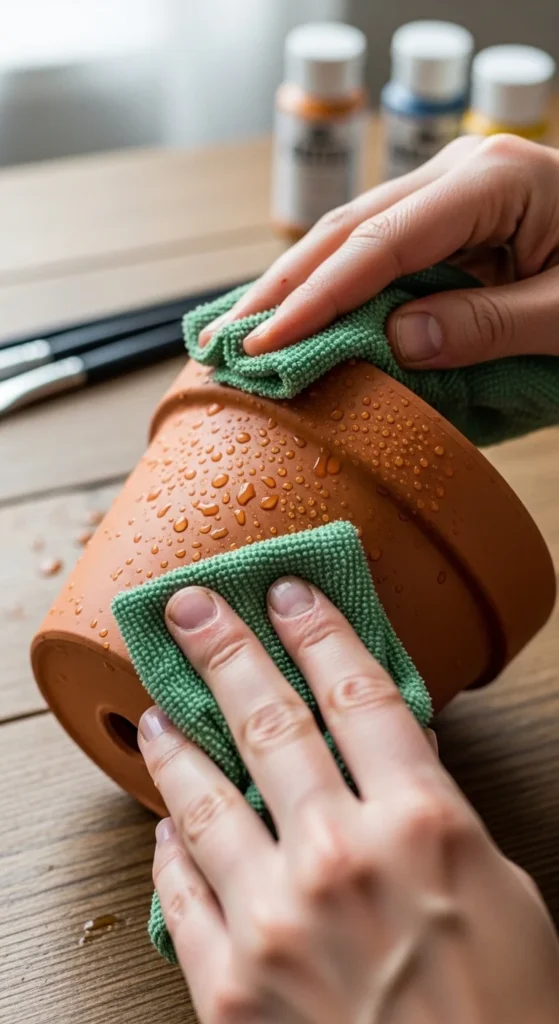
Prepare Your Clay Pots
Start by cleaning your clay pots. Use a damp cloth to wipe away any dust or dirt. Make sure the pots are completely dry before you proceed. If you plan to add paint or other finishes, now’s the time to do so. For a rustic look, a simple dry brush of white or chalk paint gives an antique feel, but this is optional.
Measure and Cut the Fabric
Measure the height and circumference of your clay pot using the measuring tape. This will ensure that the fabric you cut fits perfectly around the pot. Add about 2 inches to the height measurement to allow for folding over the top and bottom edges of the pot.
- Cut your fabric based on these measurements. The fabric should be long enough to wrap around the pot and wide enough to overlap slightly at the back.
- If you’re using a patterned fabric, make sure the pattern is aligned the way you want it before cutting.
Attach the Fabric to the Pot
Now that you have your fabric cut, it’s time to attach it to the clay pot. This is where the fun really begins!
- Use your hot glue gun to apply a thin line of glue along the top edge of the pot.
- Gently press the fabric into the glue, starting at the top and working your way down. Be careful not to burn your fingers with the hot glue.
- Continue applying glue around the pot as you wrap the fabric around it, making sure the fabric is tight and smooth as you go.
- Once you reach the bottom of the pot, fold the fabric over the edge and secure it with glue, creating a neat finish.
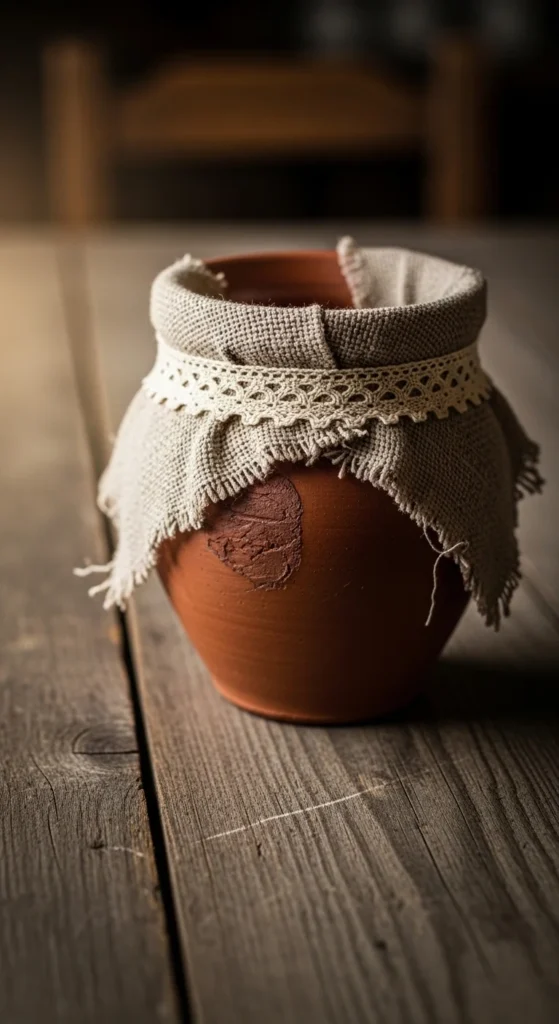
Secure the Bottom and Final Touches
Once the fabric is wrapped around the pot and glued in place, turn the pot over to the bottom. Fold the fabric neatly over the edge and secure it with glue. You may want to cut off any excess fabric for a clean look.
If you’d like to add some extra personality, now’s the time to embellish your fabric-wrapped clay pot. You can add lace, ribbon, or even buttons around the top edge for a cute finishing touch. These little details will make your project feel even more special and unique.
Add a Plant or Decorative Item
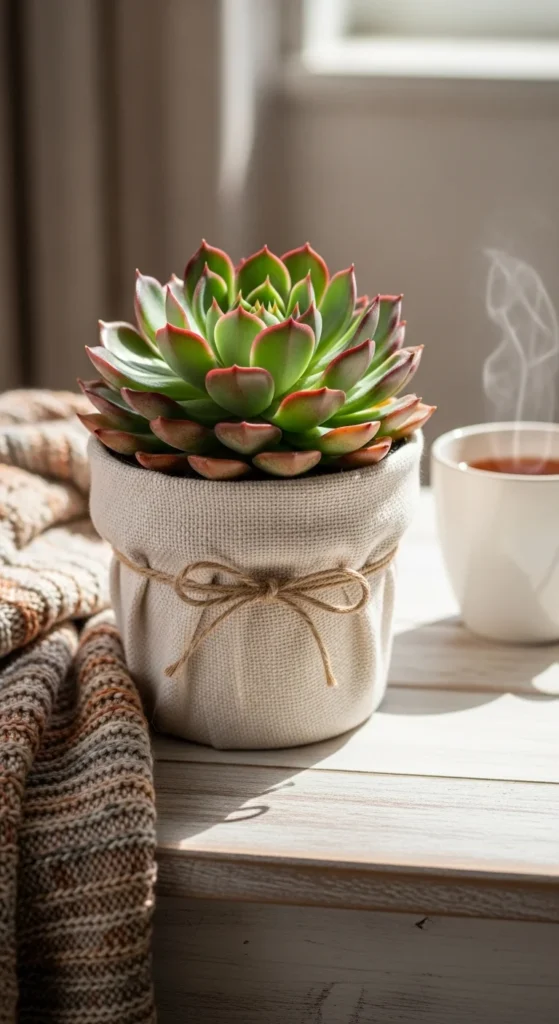
The final step is to fill your fabric-wrapped clay pot with a plant, flower, or decorative item. Whether you choose a lovely succulent, colorful flowers, or a decorative branch, the fabric will enhance the look of the greenery, adding texture and coziness to the overall display.
Tips for Personalizing Your Fabric-Wrapped Pots
- Mix and Match Fabrics: Don’t be afraid to experiment with different textures and patterns. A striped fabric with a floral pattern, or even a combination of plain and patterned fabric, can make your pots stand out.
- Use Fabric for Seasonal Decor: Change the fabric based on the season. For a cozy winter vibe, try using flannel or felt. In the spring, go for bright floral prints or pastels.
- Add a Personal Touch: For a truly personalized look, you can stencil or paint small designs onto the fabric, or add custom tags to make the pots extra special.
Conclusion
Decorating clay pots with fabric is a simple, budget-friendly DIY project that will add a cozy and personal touch to any room. Whether you’re using them for plants or as decorative accents, these fabric-wrapped pots are sure to bring warmth and charm to your home. Grab your fabric, some clay pots, and get started today!
Save this tutorial for later, and let your creative juices flow as you experiment with different fabrics and styles. Happy crafting!

Leave a Reply