

If you’ve ever walked past a plain clay pot and thought, “This could use a little personality,” you’re not alone. Clay pots are timeless, versatile, and perfect for both indoor and outdoor spaces—but they don’t have to stay plain. With a few simple materials and a touch of creativity, you can transform any ordinary pot into a piece of art using stencils. Even if you’re not a seasoned crafter, stencil decorating makes the process easy, fun, and mess-free.
Why Use Stencils for Clay Pots?
Stencils are a crafter’s best friend when it comes to precision and style. They allow you to:
- Create clean, consistent designs without freehand painting skills.
- Experiment with patterns and colors on multiple pots without much effort.
- Personalize gifts or home décor with a unique, handmade touch.
Even a simple geometric pattern or floral motif can completely change the vibe of your space. And the best part? You only need a few basic supplies to get started.

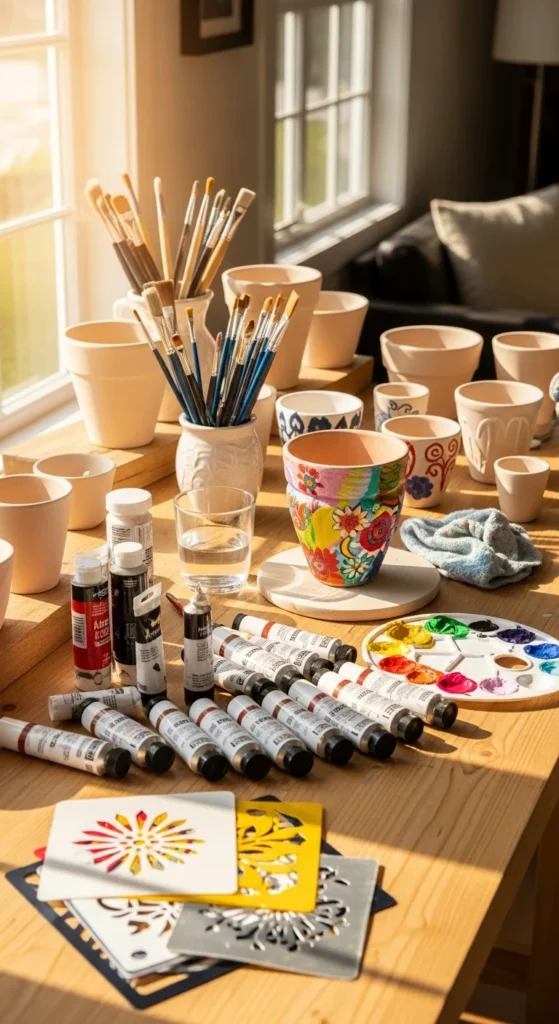
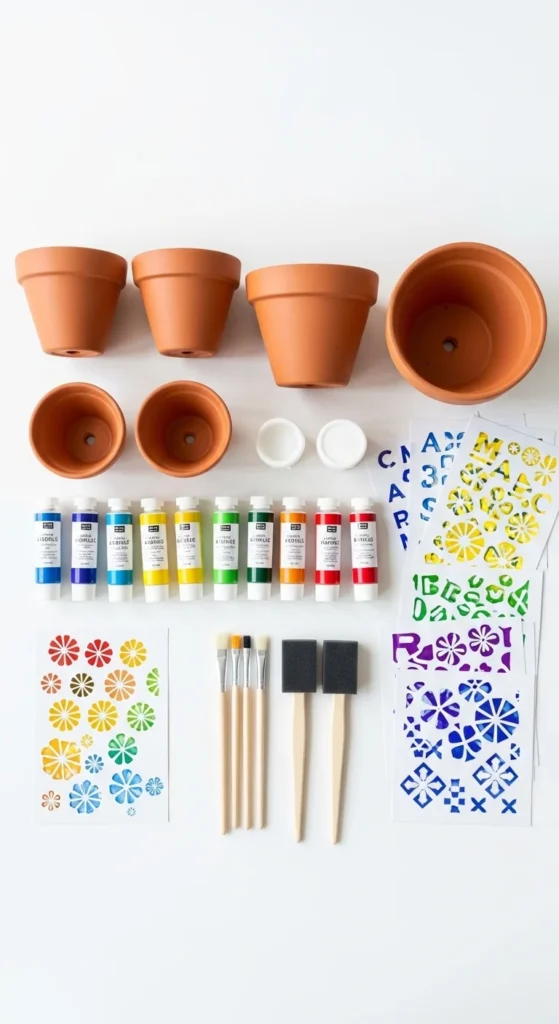
Materials You’ll Need
Before diving in, make sure you have the following items:
- Plain clay pots (terracotta works beautifully)
- Acrylic paints in your favorite colors
- Paintbrushes or foam brushes
- Pre-cut stencils (floral, geometric, or abstract patterns)
- Painter’s tape or adhesive spray (optional, to keep stencils in place)
- Sealant spray for outdoor durability
Tip: Choose paints labeled for multi-surface use—they stick better and last longer on clay.
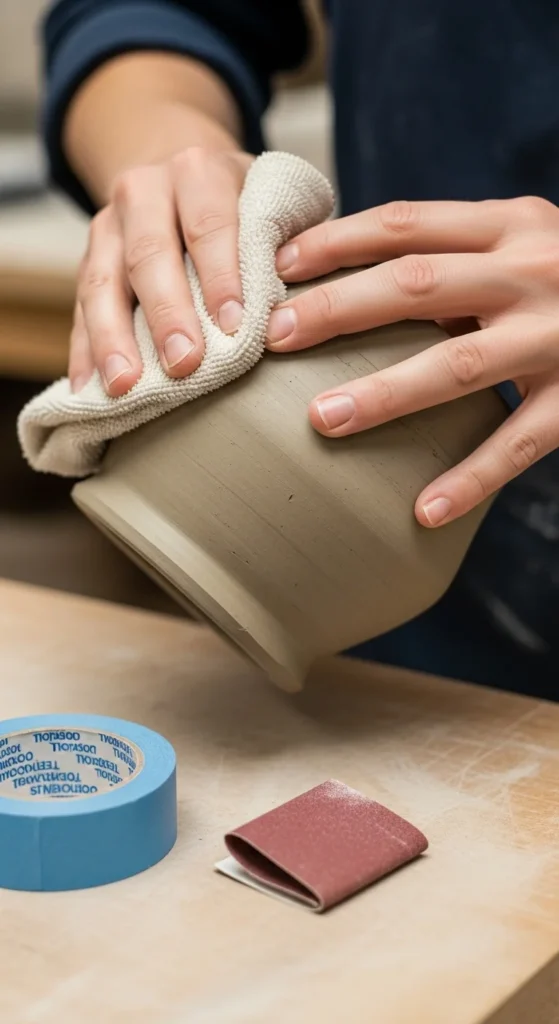
Step 1: Prepare Your Clay Pots
Start by cleaning your pots. Dirt or dust can make paint stick unevenly. Use warm, soapy water to wipe the pot clean, and let it dry completely.
- If your pot has a glossy finish, lightly sand it to create a surface that paint will adhere to.
- Remove any labels or stickers beforehand.
This prep step ensures that your finished design looks crisp and professional.
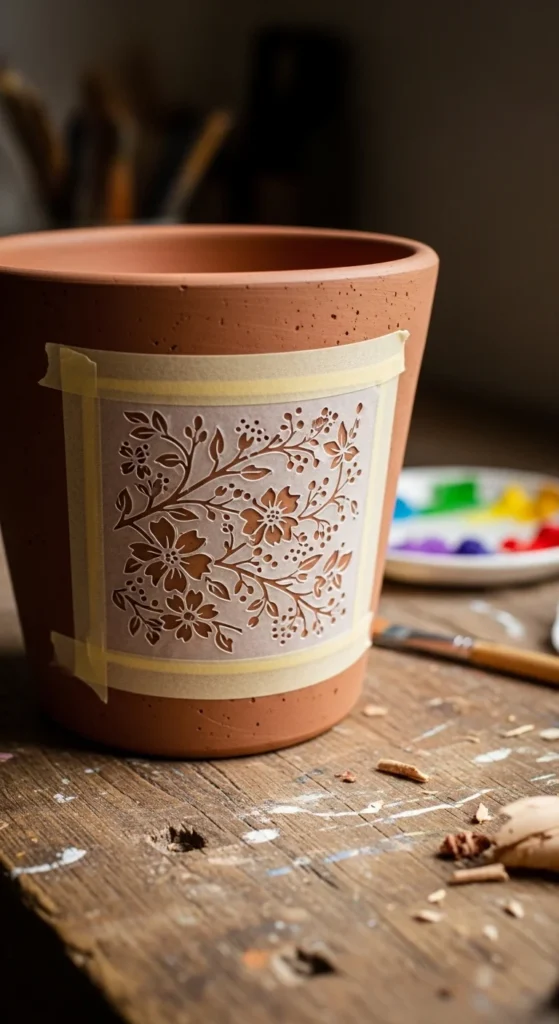
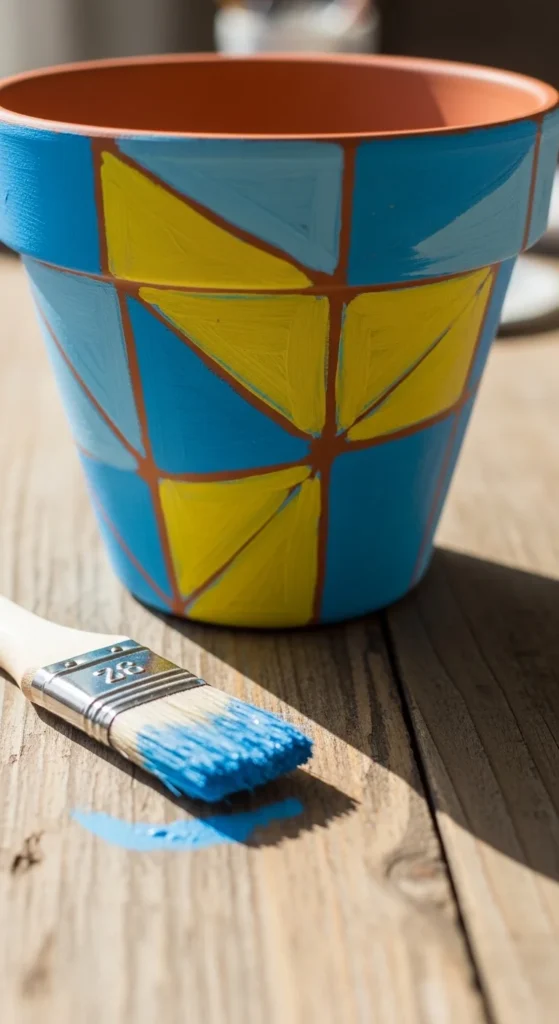
Step 2: Position the Stencil
Once your pot is clean and dry:
- Place the stencil where you want the design.
- Use painter’s tape or a light adhesive spray to secure it.
- Make sure the stencil lies flat against the curved surface—this avoids paint bleeding underneath.
Tip: On rounded pots, work with smaller stencils or sections to maintain accuracy.
Step 3: Paint the Design
Now comes the fun part—adding color!
- Use a foam brush or sponge for dabbing paint over the stencil.
- Apply in thin layers to prevent smudging. Multiple coats are fine once each layer dries.
- Carefully lift the stencil while the paint is still slightly damp to avoid peeling.
Mix and match colors, or stick with a monochromatic scheme for a minimalist look.
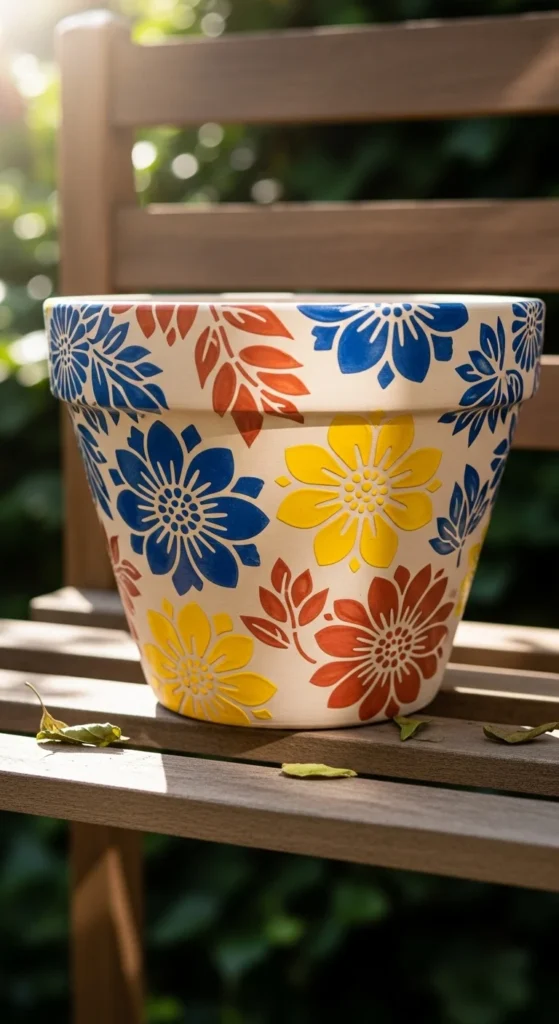
Step 4: Let It Dry and Add Details
After painting:
- Allow the pot to dry for at least 2–4 hours.
- If desired, add small freehand touches—dots, lines, or highlights—to make the design pop.
- For outdoor pots, finish with a clear sealant to protect your artwork from the elements.
Pro Tip: Using a sealant also makes your pots easier to clean without damaging the paint.
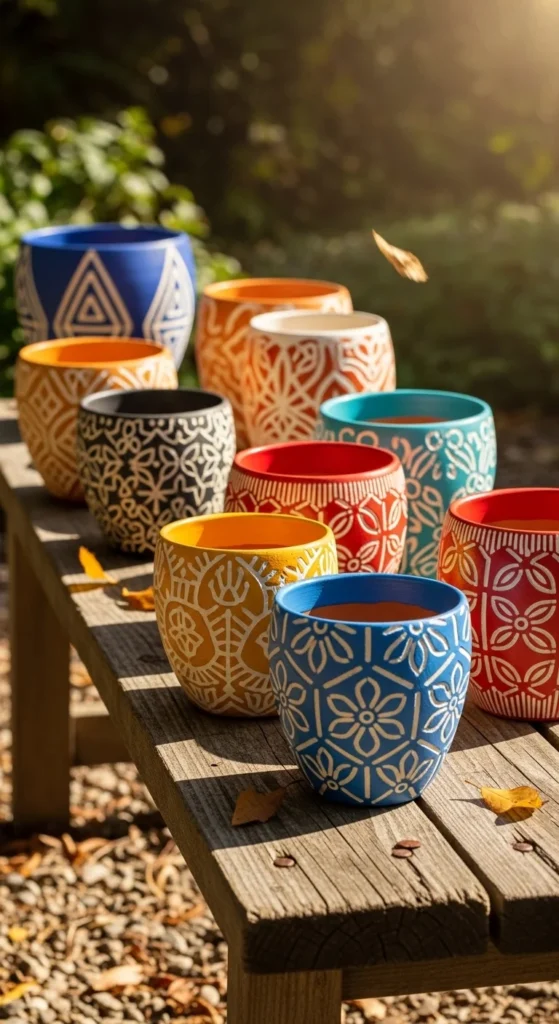
Step 5: Display and Enjoy
Your stenciled pots are ready to shine! Use them to:
- Showcase bright flowers or lush greenery.
- Organize herbs in your kitchen or balcony.
- Add a cheerful, personalized touch to gifts for friends and family.
Stenciling allows endless creativity—you can experiment with seasonal themes, bold patterns, or soft pastel tones depending on your space.
Final Thoughts
Decorating clay pots with stencils is a simple, satisfying way to elevate your home décor. With just a few supplies, anyone can create custom designs that feel personal and professional. Whether for indoor plants, outdoor gardens, or as thoughtful handmade gifts, stenciled pots are a small project with big impact.
Save this guide and gather your supplies—your next DIY masterpiece is just a stencil away!

Leave a Reply