

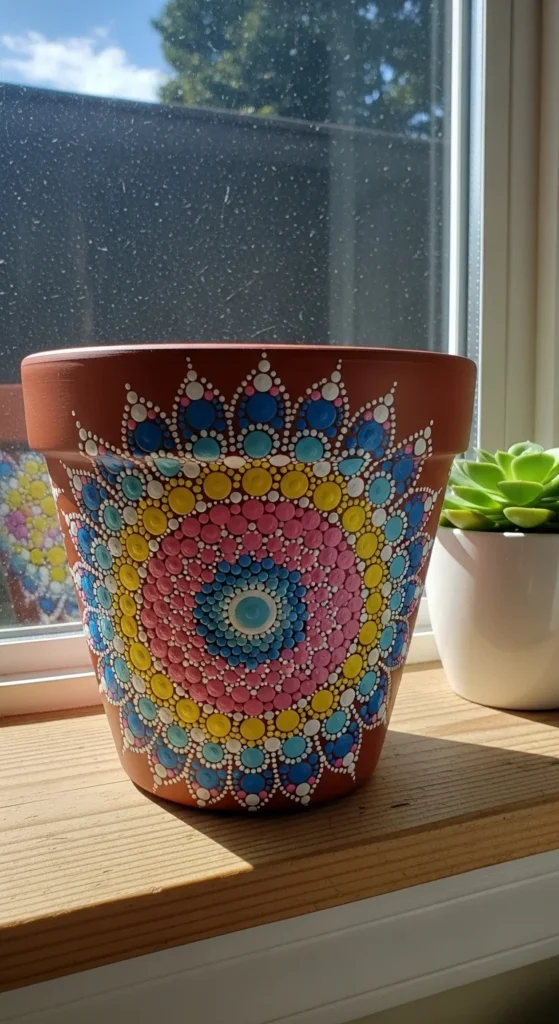
Decorating clay pots doesn’t have to be complicated or expensive. In fact, with just a few simple tools and a dash of creativity, you can transform a plain terracotta pot into a vibrant work of art. Dot painting is one of the easiest techniques to try—it’s relaxing, forgiving, and perfect for both beginners and seasoned crafters. In this guide, we’ll show you how to decorate clay pots with simple dot painting so you can add a splash of color to your garden, balcony, or home interior.
Gather Your Supplies
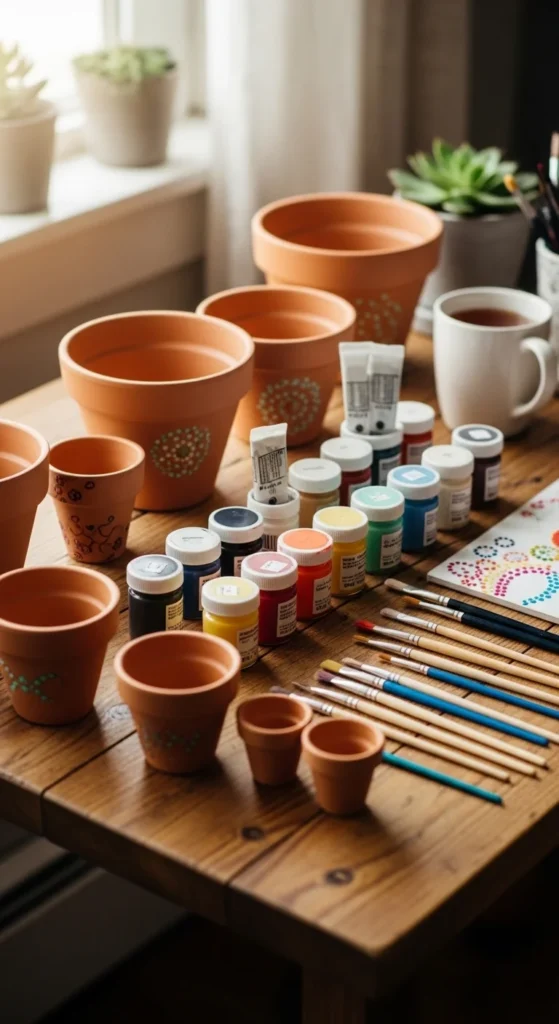
Before you start, make sure you have everything you need. Here’s a basic list to get you going:
- Plain clay pots (any size)
- Acrylic paints in your favorite colors
- Dotting tools or alternatives (toothpicks, cotton swabs, or the back of a paintbrush)
- Palette or small plates for paint
- Pencil for light sketching (optional)
- Paper towels for cleaning tools
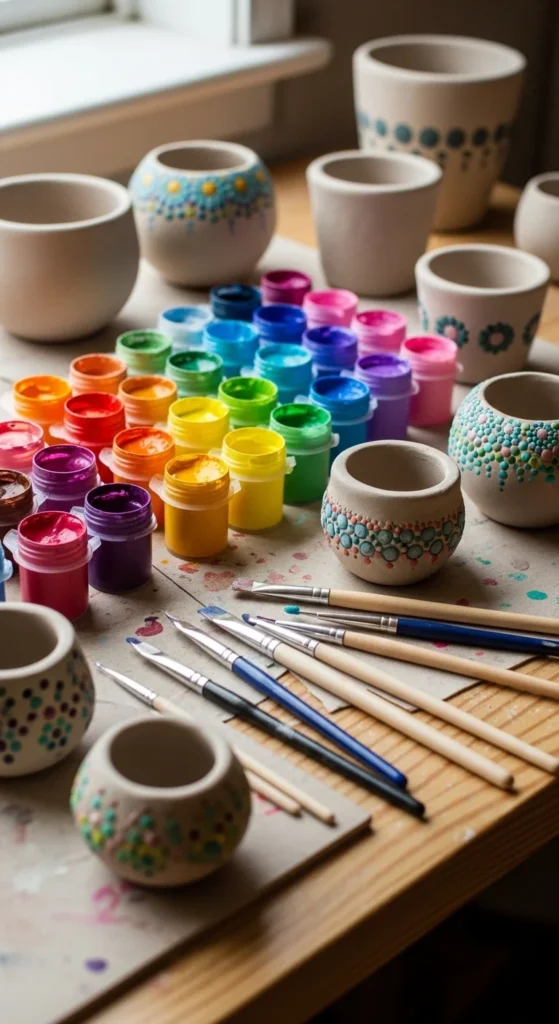
Tip: Choose contrasting colors for a bold, eye-catching design, or go with soft pastels for a more subtle, bohemian vibe.
Prep Your Clay Pots
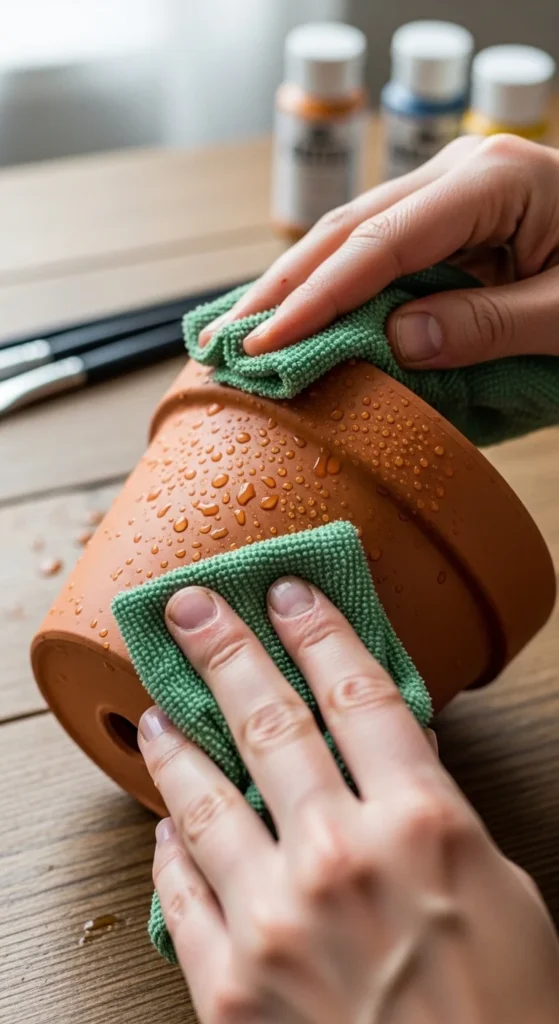
Clay pots are porous, so it’s a good idea to prep them before painting. Here’s how:
- Clean the pot – Wash off any dust or dirt and let it dry completely.
- Prime if needed – While optional, applying a white acrylic base coat can make your colors pop.
- Plan your design – Lightly sketch a pattern with a pencil. Dots can be arranged in spirals, rows, flowers, or abstract shapes.
Dot Painting Techniques
The magic of dot painting lies in its simplicity. Here are a few techniques to try:
Basic Dots
- Dip your tool into paint and gently press onto the pot.
- Lift straight up for a clean, round dot.
- Vary the size by using different tools or changing the amount of paint.
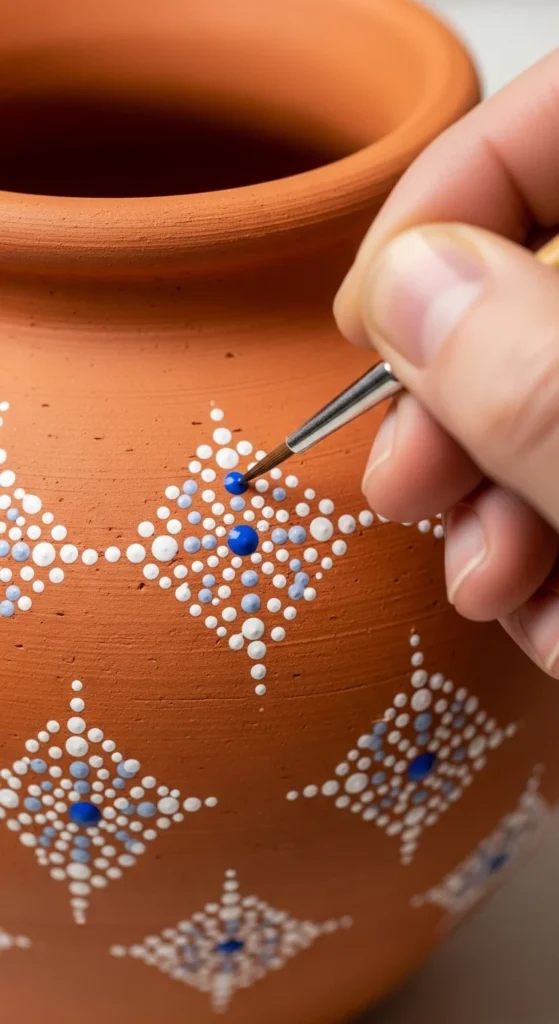
Concentric Dots
- Start with a larger dot in the center.
- Add smaller dots around it in a circle for a floral or mandala effect.
Gradient Dots
- Use several shades of the same color.
- Place the darkest shade in the center, fading to lighter colors as you move outward.
Tip: Allow each color to dry slightly before adding the next to avoid smudging.
Experiment with Patterns
Once you’re comfortable with basic dots, you can experiment with patterns:
- Rows and lines – Create symmetry with dots in straight lines or wavy curves.
- Geometric shapes – Combine triangles, diamonds, or hexagons for a modern look.
- Floral motifs – Build flowers using a central dot with surrounding petals made of smaller dots.
Remember, imperfections add character! Dot painting is meant to be fun and free-flowing.
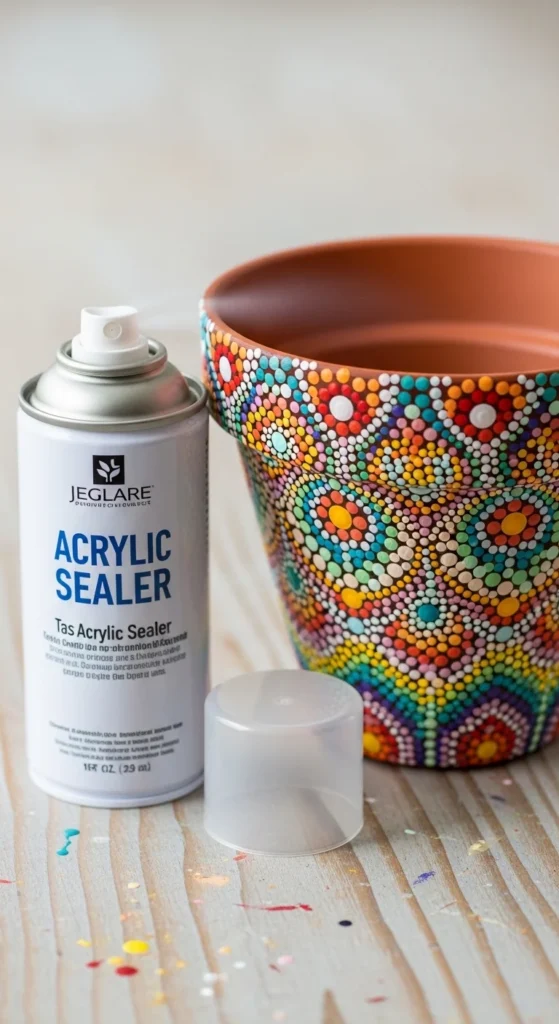
Seal Your Masterpiece
After your dots are fully dry, sealing your pot will protect your design:
- Use a clear acrylic sealer for indoor or outdoor use.
- Apply 1–2 thin coats, letting each dry completely.
- If the pot will hold soil and water, consider sealing the inside as well.
Sealing ensures your beautiful dots won’t chip, fade, or wash away when watering plants.
Final Tips
- Practice on a spare pot or even a piece of cardboard first.
- Mix and match colors for a playful look.
- Don’t rush—dot painting is calming and therapeutic!
- Gift your creations to friends or family—they make charming personalized presents.
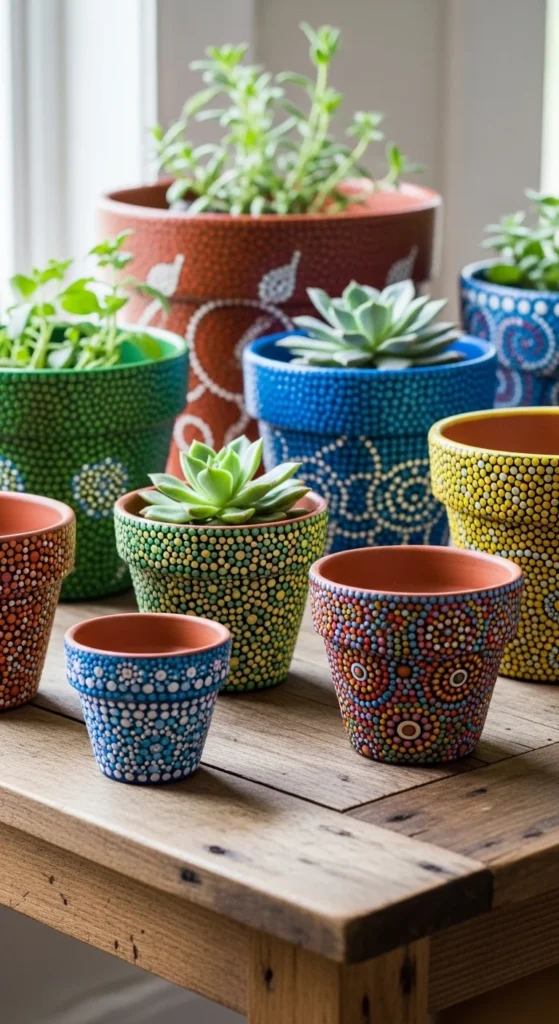
Decorating clay pots with simple dot painting is an enjoyable way to add color and personality to your home or garden. Once you start, you’ll find endless creative possibilities, from minimalistic patterns to intricate mandalas. Grab your paints, pick your colors, and let your creativity flow—your next favorite home accent is waiting to be made.
Save this tutorial for your next craft day and start dotting!

Leave a Reply