

Are you looking to add a touch of elegance and sophistication to your home or garden? Metallic-painted clay pots are a simple yet stunning way to elevate any space. Whether you’re an experienced DIYer or a beginner, decorating clay pots with metallic paint is a fun and rewarding project. In this article, we’ll guide you step-by-step on how to decorate your clay pots with stylish metallic finishes that will shine in any room or outdoor space.
Materials You’ll Need
Before diving into the creative process, make sure you have all the necessary materials. Here’s what you’ll need to get started:
- Clay pots: Choose pots in various sizes and shapes for variety.
- Metallic spray paint: Gold, silver, copper, or rose gold—choose your favorite or go for a mix!
- Primer: Helps the paint adhere better to the clay surface.
- Paintbrush: If you prefer using a brush instead of spray paint.
- Painter’s tape: For creating clean lines or designs.
- Drop cloth or newspaper: To protect surfaces while painting.
- Clear acrylic sealer: To protect your painted design and ensure durability.
- Sandpaper: To smooth the pot’s surface before painting.
Step 1: Preparing the Clay Pots
Before you begin painting, you’ll need to prepare the surface. Here’s how:
- Clean the pots: Wipe down the pots with a damp cloth to remove dust and dirt.
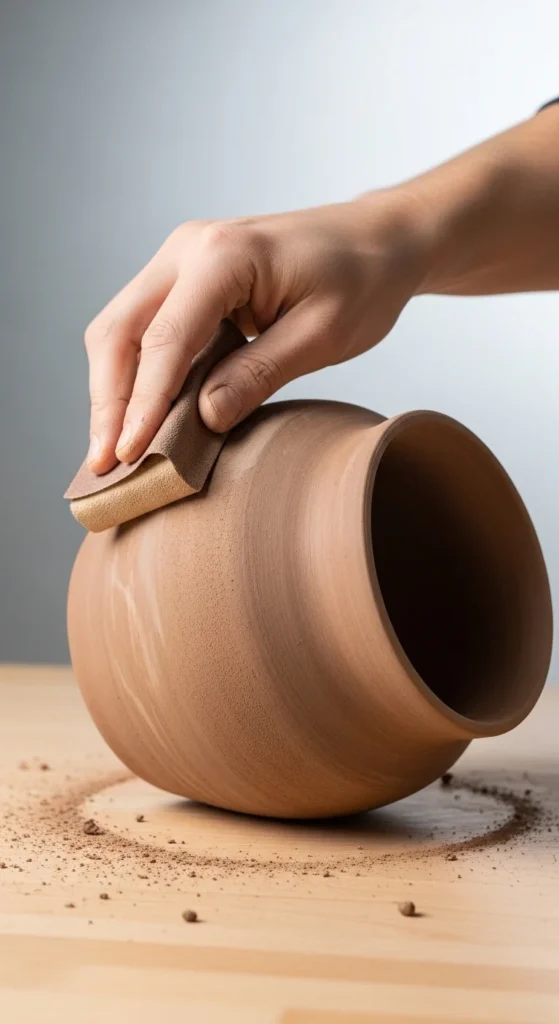
- Sand the surface: Lightly sand the pots to remove any rough spots and create a smoother surface for the paint.
- Apply a primer: Use a coat of primer to ensure the metallic paint sticks to the clay. This is especially important if you’re using a light metallic paint over a darker-colored pot. Let the primer dry completely before moving to the next step.
Step 2: Painting the Pots
Now, it’s time for the fun part: painting!
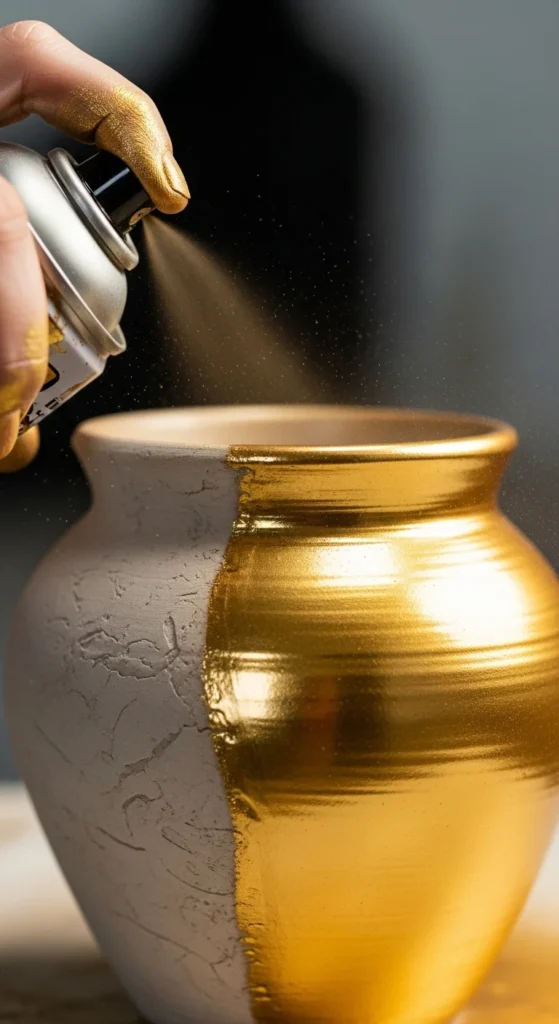
- Choose your metallic paint: Whether you’re using spray paint or a brush, metallic shades like gold, silver, and rose gold can make a dramatic statement.
- Apply the first coat: If you’re using spray paint, hold the can about 6–8 inches from the pot and spray in light, even coats. Let each coat dry for about 15–20 minutes before applying the next one.
- Use a brush for precision: For a more controlled design, use a paintbrush. Apply the paint in smooth strokes, covering every corner of the pot. It might take two or three coats for full coverage.
Step 3: Adding Designs (Optional)
Want to make your pots stand out even more? Try incorporating designs using painter’s tape or stencils.
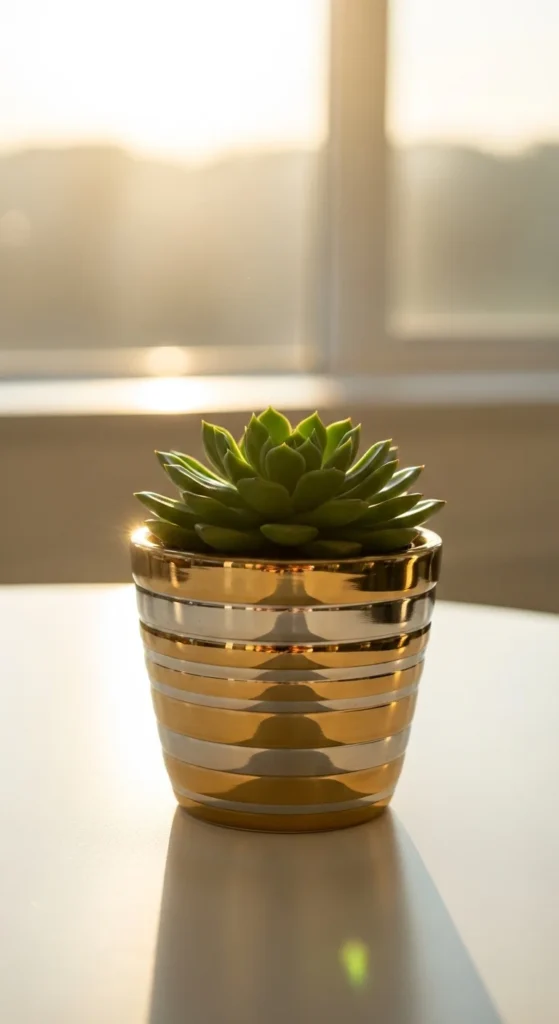
- Use painter’s tape for stripes: Apply painter’s tape in a criss-cross or diagonal pattern and paint between the lines to create bold, modern stripes.
- Add a metallic accent: Use a different color metallic paint to add accents around the rim of the pot or around the base for extra style.
- Stencil designs: You can also use stencils to create intricate patterns like flowers, geometric shapes, or even names on your pots.
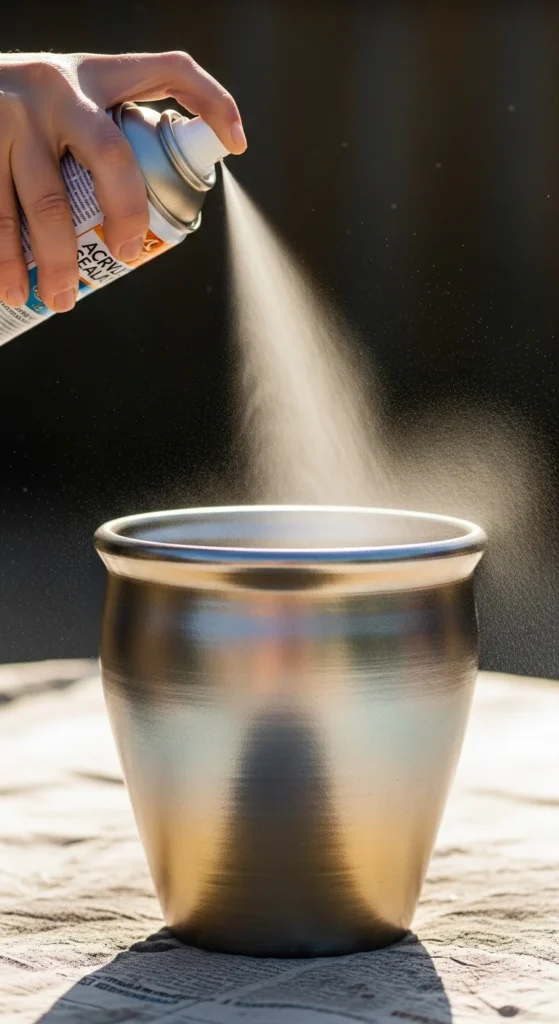
Step 4: Sealing the Design
Once you’ve painted your pots and are satisfied with the design, it’s essential to seal the paint to protect your hard work.
- Choose a clear acrylic sealer: This will protect your metallic finish from chipping or fading over time, especially if the pots are kept outside.
- Apply the sealer: Lightly spray a clear acrylic sealer over the entire surface of the pot, making sure to coat the areas where the paint is most exposed. Allow the sealer to dry thoroughly before handling.
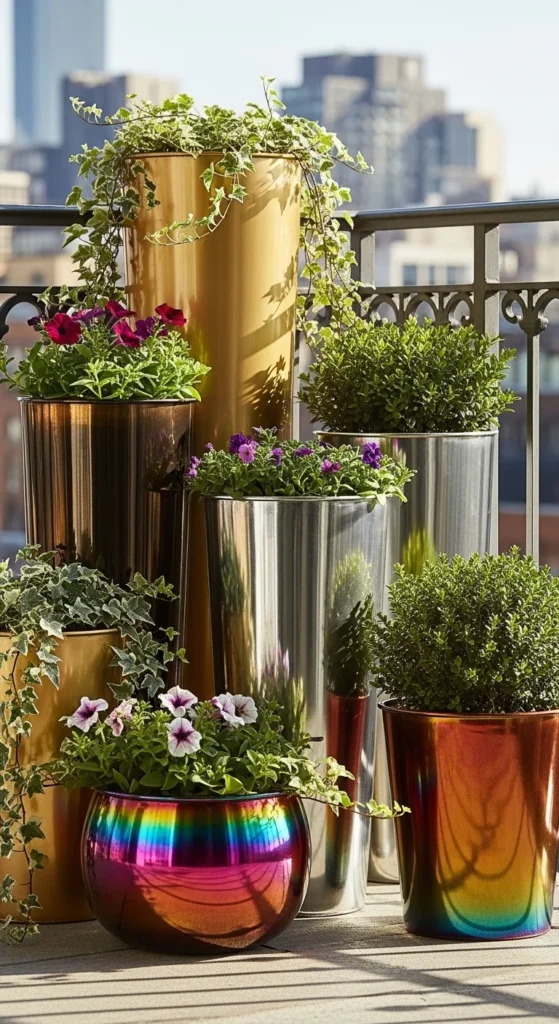
Step 5: Planting and Displaying
After the paint has dried and been sealed, your pots are ready for use! Here’s how to make the most of your metallic-painted clay pots:
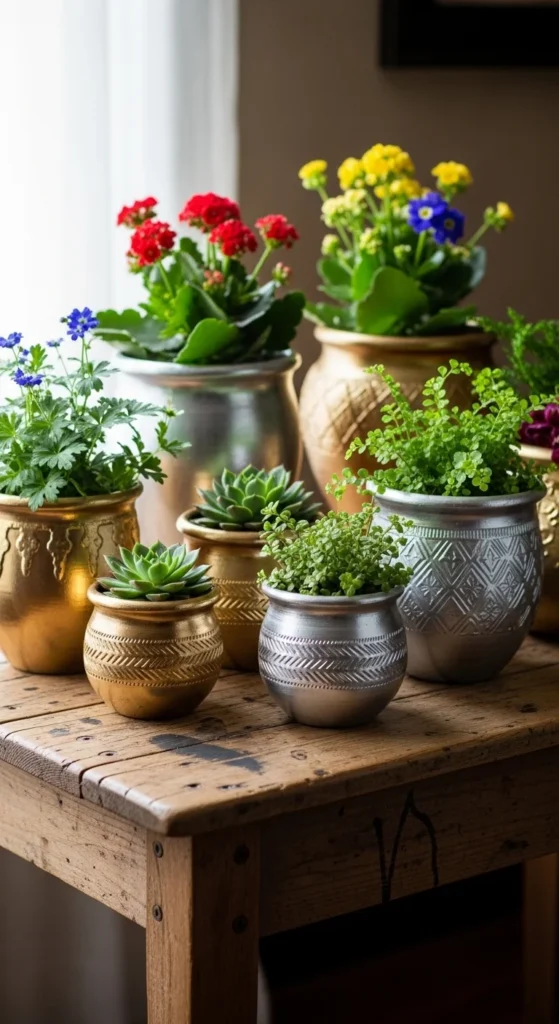
- Add plants: Fill your pots with your favorite plants—succulents, flowers, or small herbs work great in these pots.
- Arrange creatively: Group your metallic pots together to create a stunning display for your garden or indoors. Use different sizes and metallic finishes for visual interest.
- Place in the perfect spot: Whether it’s by your front door, on your windowsill, or in the center of your living room, these stylish pots will add a touch of luxury and charm to any space.
Conclusion
Decorating clay pots with metallic paint is a simple yet transformative way to add glamour and sophistication to your home or garden. With just a few materials and steps, you can create beautiful pots that elevate any room or outdoor space. Whether you keep them simple or get creative with designs, these pots will definitely catch the eye and make a statement.
So, why wait? Grab your clay pots and metallic paints and get started on this exciting DIY project today!

Leave a Reply