

Clay pots are a fantastic way to add a rustic and charming touch to your home or garden. Whether you’re looking to upcycle old pots or simply add some color to your plant collection, decorating clay pots with soft chalk paint finishes is the perfect DIY project. It’s an easy, budget-friendly way to create unique, personalized pieces that reflect your style.
In this guide, we’ll walk you through the steps to decorate clay pots using soft chalk paint, giving them a stunning, vintage-inspired look. Whether you’re a beginner or a seasoned crafter, this tutorial will have you painting like a pro in no time!
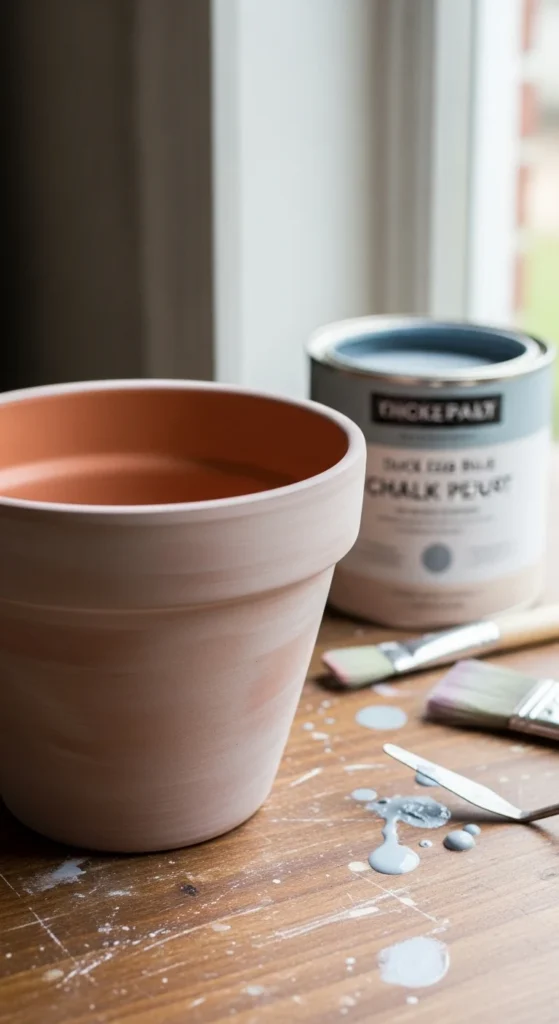
Step 1: Gather Your Supplies
Before you start, make sure you have all the tools and materials needed to create the perfect chalk-painted clay pots.
What You’ll Need:
- Clay pots – New or old, the choice is yours!
- Soft chalk paint – Choose colors that match your home decor or garden style.
- Primer – Helps the paint adhere better and provides a smooth base.
- Paintbrushes – A large brush for base coats and smaller brushes for detailing.
- Fine-grit sandpaper – For smoothing any rough areas on the pot.
- Clear wax or sealer – To protect the painted surface and enhance the finish.
- Paper towels or rags – For wiping off excess wax.
- Plastic drop cloth or newspaper – To protect your workspace from spills.

Step 2: Prepare Your Clay Pots
Before you get to painting, you need to prep the pots to ensure a smooth and durable finish.
Cleaning the Pots:
- Wash your pots: If you’re reusing old clay pots, start by cleaning them thoroughly to remove any dirt, dust, or old paint.
- Dry completely: Let the pots dry completely before moving to the next step.
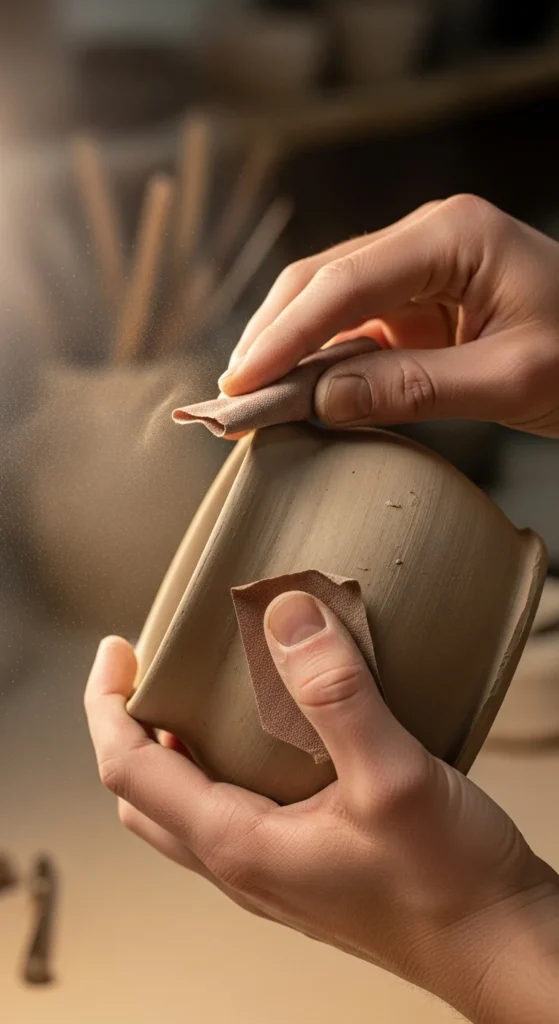
Sanding the Surface:
- Smooth out rough patches: Use fine-grit sandpaper to lightly sand the surface of the pots, especially if they’re a bit rough or uneven. This will help the chalk paint adhere better.
- Dust off: After sanding, make sure to wipe off any dust with a clean, dry rag.
Step 3: Apply the Primer
To get the best results, apply a coat of primer to your pots before painting. This ensures that the chalk paint adheres evenly and lasts longer.
- Choose a primer: Opt for a primer suitable for clay surfaces. This step is especially important if you’re painting over an old glaze or a porous pot.
- Apply a thin layer: Use a paintbrush to apply a thin layer of primer. Let it dry completely before moving on to painting.
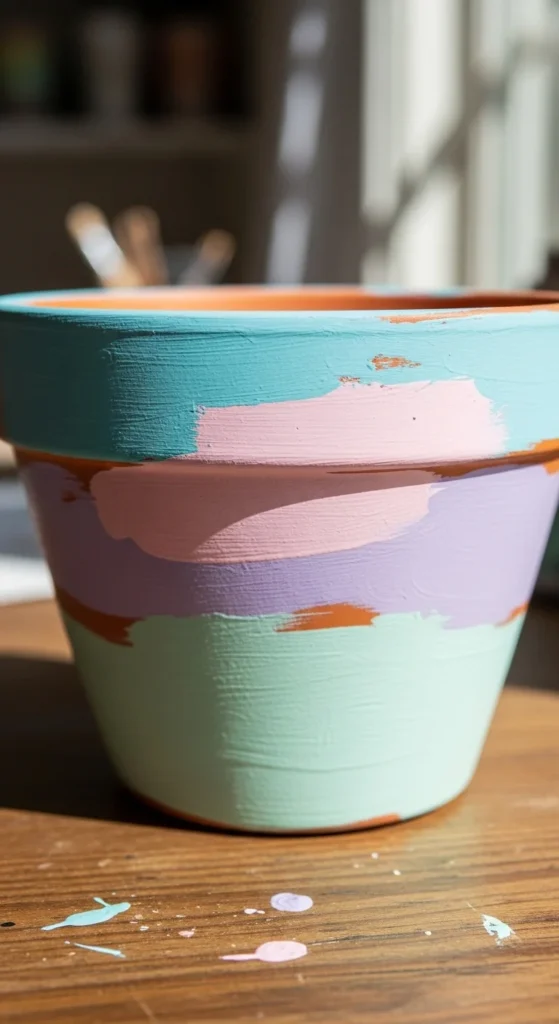
Step 4: Start Painting with Chalk Paint
Now comes the fun part—painting! Soft chalk paint is great because it covers easily and gives a smooth, matte finish.
- First coat: Start by applying the first coat of chalk paint using a large paintbrush. Use long, even strokes, and don’t worry about perfect coverage yet.
- Drying time: Let the first coat dry completely (usually around 1-2 hours).
- Second coat: Once the first layer is dry, apply a second coat for a richer, more vibrant finish.
Tip: Chalk paint dries quickly, so it’s best to work in thin coats to avoid streaks or uneven areas.
Step 5: Add Detailing (Optional)
For a more personalized touch, you can add some fun details to your clay pots.
- Stenciling: Use stencils to add patterns, flowers, or words to your pots. Simply place the stencil on the pot, and carefully paint over it with a contrasting color.
- Distressing: If you prefer a vintage look, lightly sand the edges of the pot after the paint has dried. This will give the pot a distressed, shabby chic appearance.
- Decorative designs: You can also add embellishments like ribbons, twine, or painted dots for an extra pop of style.
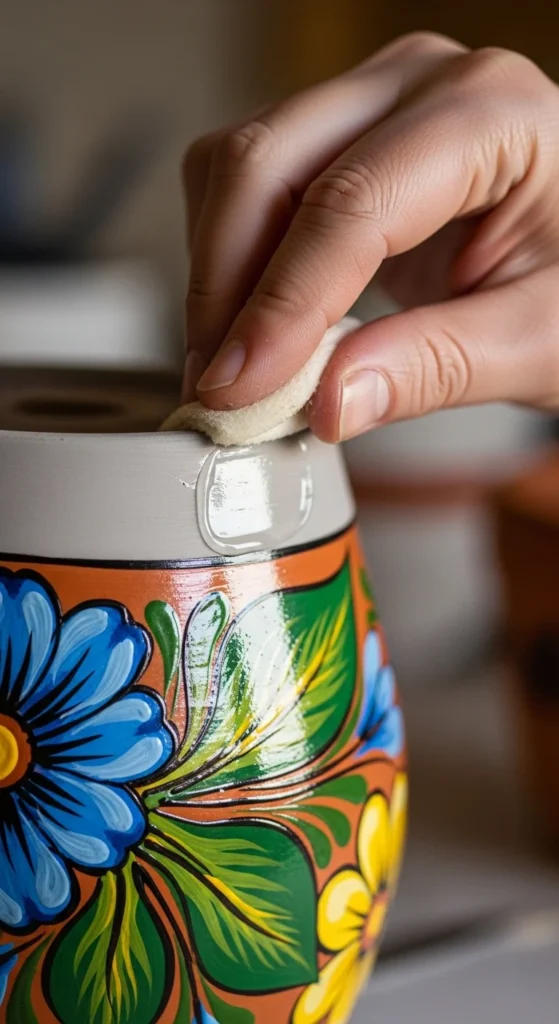
Step 6: Seal Your Pot with Wax
To protect the soft chalk paint and give it a polished finish, apply a clear wax or sealer.
- Waxing the pot: Use a soft cloth or paper towel to rub a thin layer of clear wax over the entire painted surface. This will give the paint a smooth, satin sheen and protect it from damage.
- Buffing: After applying the wax, use a clean, dry cloth to buff the surface. This enhances the finish and adds a soft, vintage glow.
Step 7: Let It Dry and Display
Once your pot is fully waxed, let it dry for at least 24 hours before using it. This ensures the wax hardens and the paint is completely set.
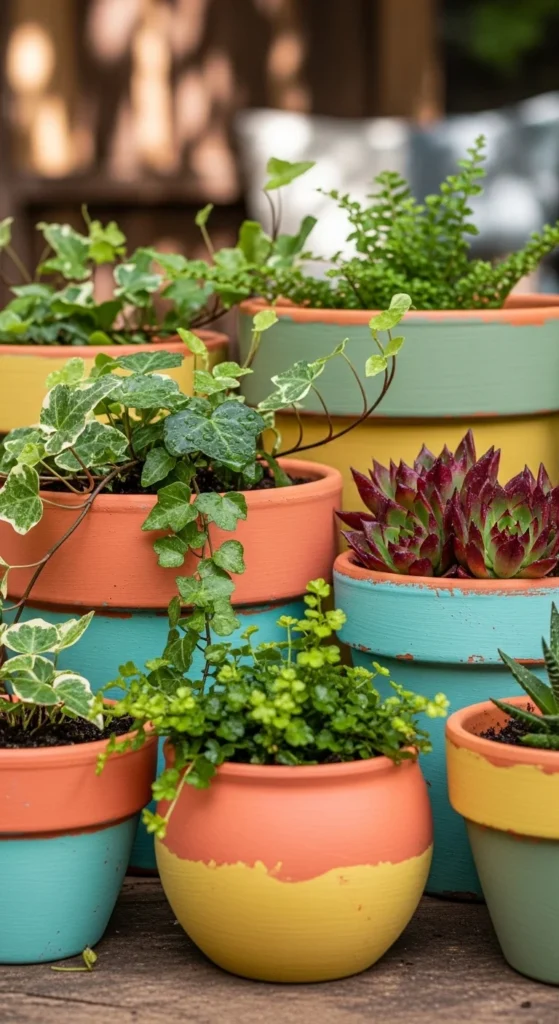
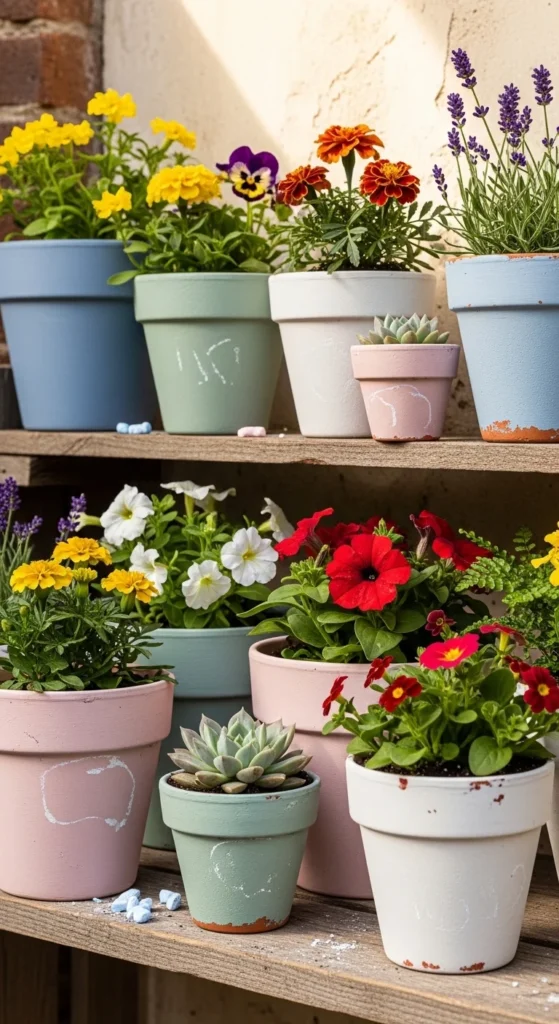
After the drying period, your beautifully decorated clay pots are ready to be filled with plants, flowers, or simply displayed as charming decor pieces in your home or garden.
Final Thoughts
Decorating clay pots with soft chalk paint finishes is an easy and fun way to add a personal touch to your space. Whether you’re creating a cozy nook in your living room or brightening up your garden, these custom-painted pots are sure to make a statement. Don’t forget to experiment with different colors, patterns, and textures to truly make your pots unique!
So, grab your chalk paint, get creative, and start decorating your own set of clay pots today. You’ll be amazed at how a simple DIY project can transform your home.
Save this guide for later and share it with your friends who love a good crafting session!

Leave a Reply