

Plain clay pots are fine… until you see one wrapped in rustic rope and suddenly it looks like it belongs in a cozy farmhouse kitchen, a boho balcony, or a Pinterest-perfect entryway. The best part? This craft is simple, budget-friendly, and forgiving. If you can wrap a gift with ribbon, you can do this.
What You’ll Need (Quick Supply List)
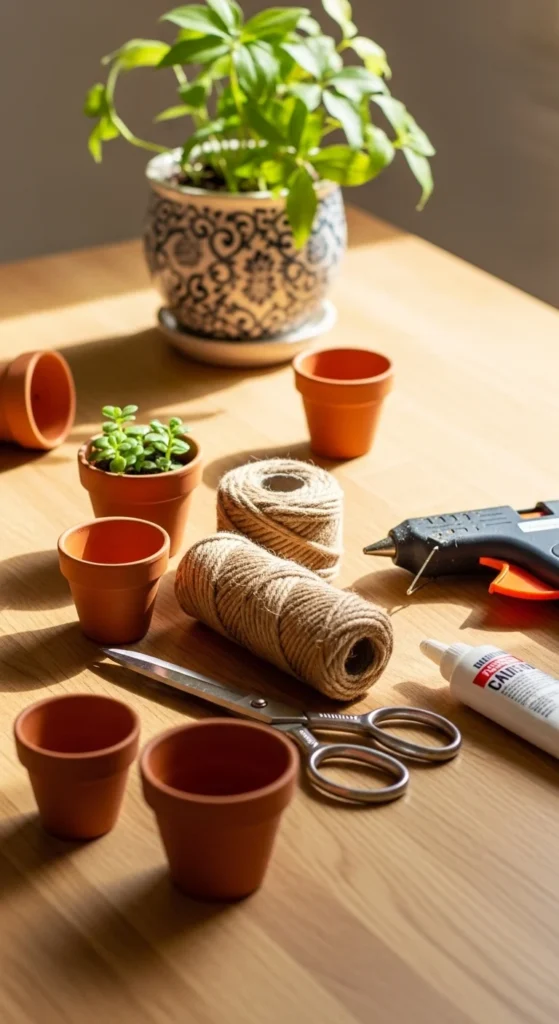
Before you start wrapping, grab everything so you’re not hunting for scissors mid-glue.
Supplies:
- Terracotta clay pots (any size)
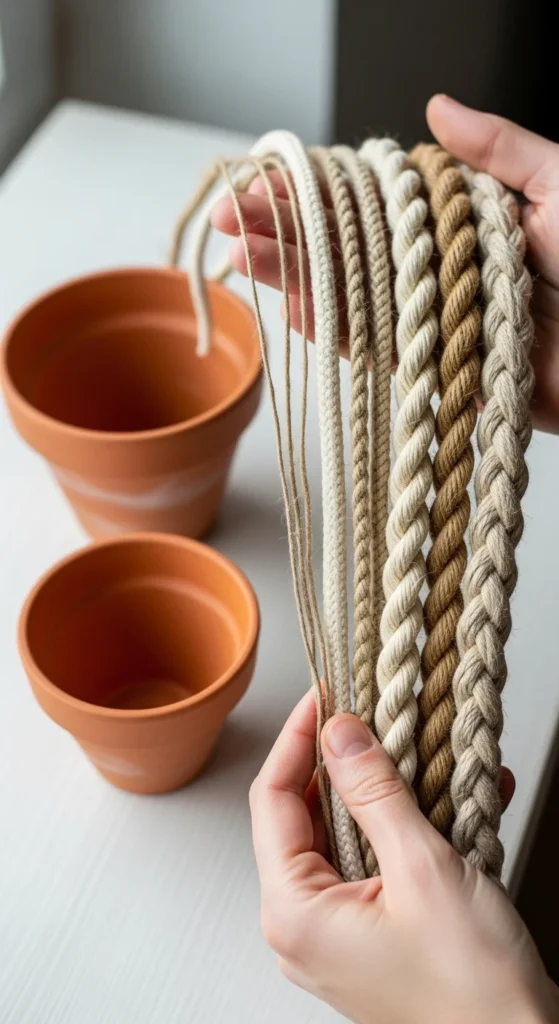
- Natural jute rope or cotton rope (thin for small pots, thicker for big pots)
- Hot glue gun + glue sticks or strong craft glue
- Scissors
- Pencil or marker (optional, for guide lines)
- Paintbrush (optional, for sealing)
Optional add-ons (for extra charm):
- Lace trim, twine, or small wooden beads
- Dried flowers (like lavender) or tiny faux greenery
- Matte clear sealer (spray or brush-on)
Step 1: Prep Your Clay Pot for a Clean Finish
Clay pots are dusty by nature, and dust can weaken glue. A two-minute prep makes the wrap look smoother and last longer.
Do this first:
- Wipe the pot with a dry cloth (or a slightly damp one) to remove dust.
- Let it dry fully if you used water.
- If your pot has a rough edge or chips, lightly sand it.
Quick tip:
If you plan to use the pot outdoors, consider brushing on a thin coat of clear sealer first. It helps the clay resist moisture.
Step 2: Start the Rope Wrap (The Easy, No-Stress Method)
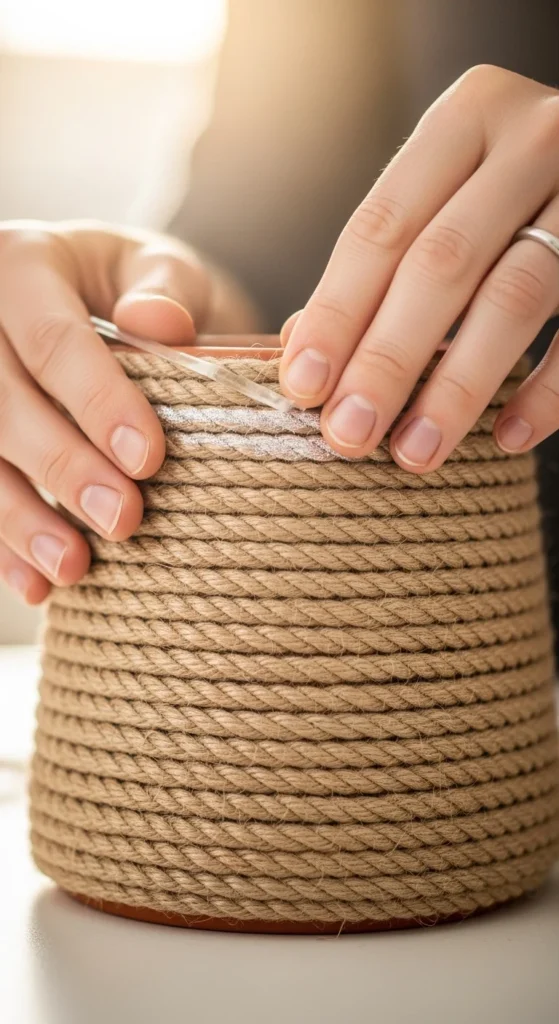
This is the core step, and it’s easier than it looks. You’re basically creating a spiral.
How to wrap like a pro:
- Pick your starting point: bottom rim, base, or top edge.
- Add a small line of glue (about 1–2 inches).
- Press the rope into the glue and hold for a few seconds.
- Keep wrapping, snugly placing rope right next to the previous row.
- Glue in small sections as you go so it stays neat.
For a super clean look:
- Pull the rope gently while wrapping so it stays tight.
- Keep the rows touching—no gaps.
- Rotate the pot as you wrap (instead of moving your hands too much).
Step 3: Handle Curves, Edges, and Tricky Spots
Clay pots aren’t flat cylinders—most flare outward. That curve can create tiny gaps if you wrap too quickly.
Here’s how to keep it smooth:
- Go slower near the widest part of the pot.
- Use thinner rope for very curved shapes or small pots.
- Add extra glue dots in spots where the rope wants to lift.
- If a small gap shows up, don’t panic—rustic style hides it well.
Want a “designer” look?
Try wrapping only the top half, or create a banded style:
- Wrap 2–3 inches
- Leave a thin clay gap
- Wrap another 2–3 inches
That simple spacing makes it look intentional.
Step 4: Create a Finished Top and Bottom (No Messy Ends)
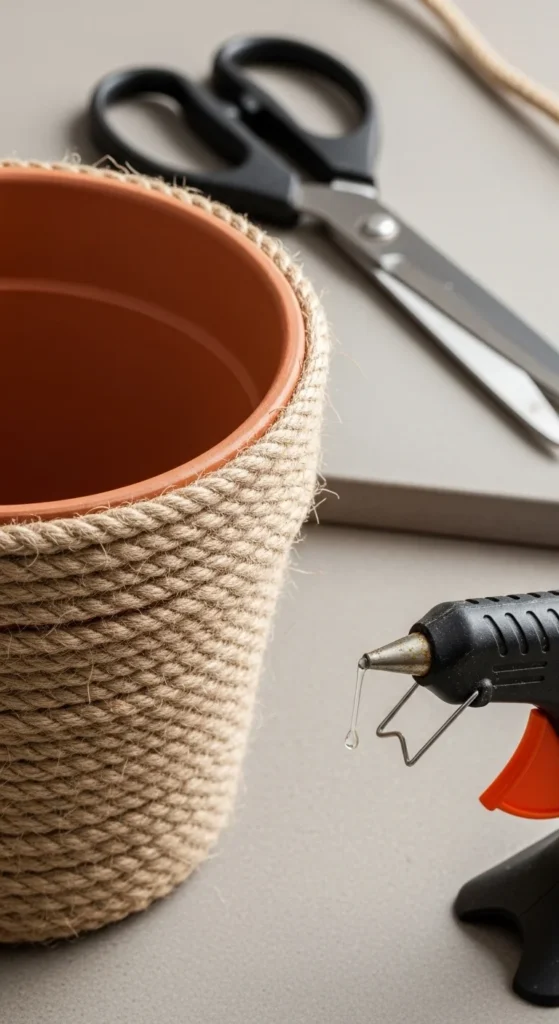
The ending matters. A clean finish makes your pot look store-bought.
Easy ways to finish the rope end:
- Cut the rope at a slight angle so it tucks in better.
- Add a final line of glue, press, and hold.
- If the end looks bulky, twist the rope slightly and flatten it with your fingers.
Optional “extra neat” trick:
Wrap the very top rim separately:
- Start at the rim edge
- Wrap around once
- Glue and trim
It hides any uneven edges and gives a polished border.
Step 5: Add Rustic Details (Make It Look Personal)
Once the rope is on, you can leave it simple—or dress it up.
Rustic add-ons that look amazing:
- Tie a small twine bow around the pot’s neck
- Glue on a line of lace trim for soft contrast
- Add a few wooden beads on a small hanging loop
- Attach a tiny bunch of dried flowers with twine
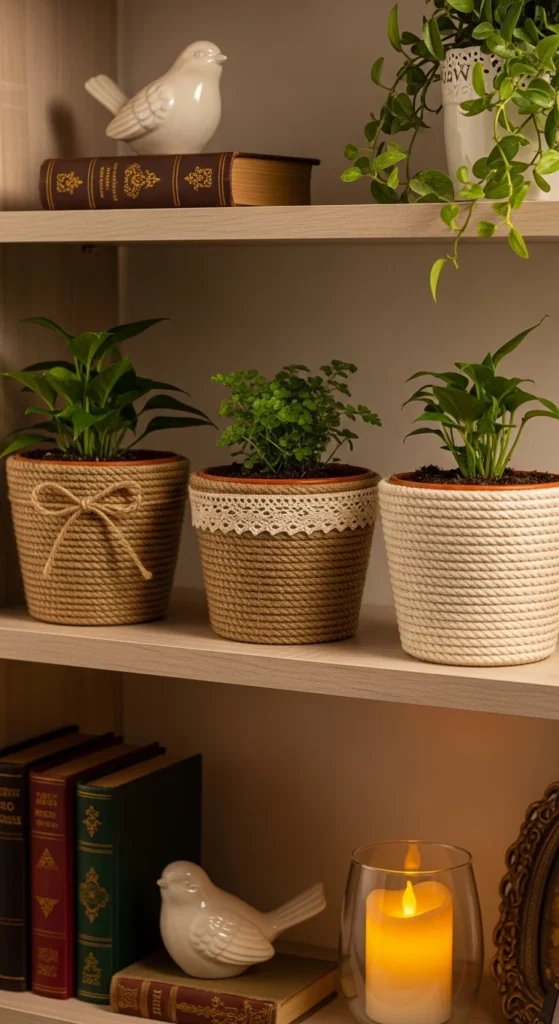
Style ideas (quick inspiration):
- Farmhouse: plain jute + twine bow
- Boho: thicker rope + beads + tassel
- Minimal: thin rope wrap only at the top and bottom
- Coastal: light cotton rope + soft white accents
Step 6: Use Your Rope-Wrapped Pots (Cute Display Ideas)
Now the fun part: showing them off.
Ways to use them:
- Plant a small succulent (use an inner plastic liner so the rope stays dry)
- Store pens, paintbrushes, or makeup brushes
- Hold kitchen tools like wooden spoons
- Use as a gift container (add shredded paper and small items)
Important note for watering:
If you’re planting directly inside, water carefully and don’t soak the rope. A plastic nursery pot placed inside the wrapped pot is the easiest solution.
Final Takeaway
Rustic rope-wrapped clay pots are one of those crafts that looks fancy but feels relaxing to make. You can finish one in a short session, customize the style, and instantly warm up any corner of your home.
Save this idea for later, then grab a clay pot and try your first wrap today!

Leave a Reply