

Decorating clay pots can be one of the most relaxing and rewarding crafts you can try. With a few simple supplies and a bit of patience, you can transform plain terracotta pots into vibrant pieces of art that brighten up any space. Adding colorful mandala patterns not only makes your pots visually stunning but also brings a sense of mindfulness and creativity into the process. Whether you’re crafting for your garden, patio, or home décor, this project is perfect for artists of all levels.
Materials You’ll Need
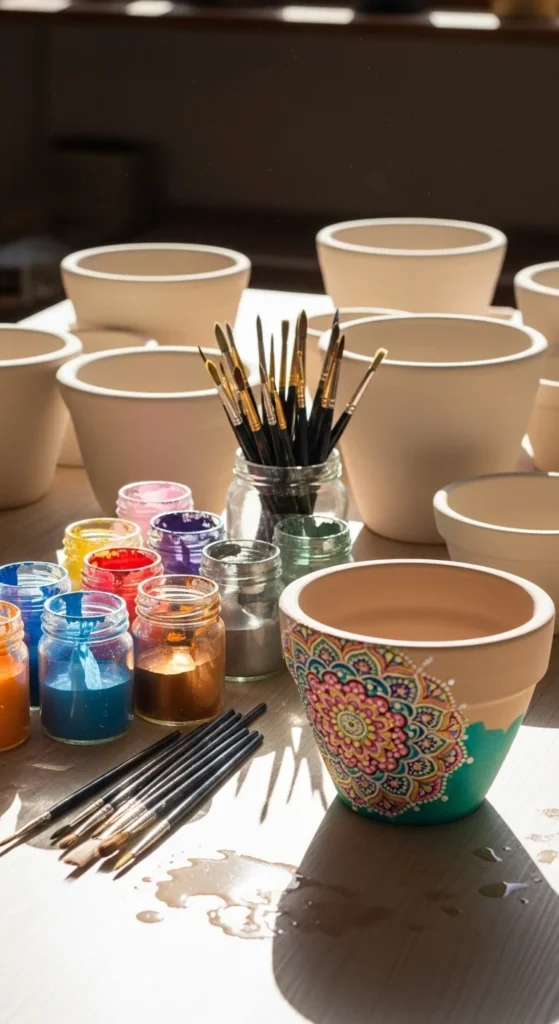
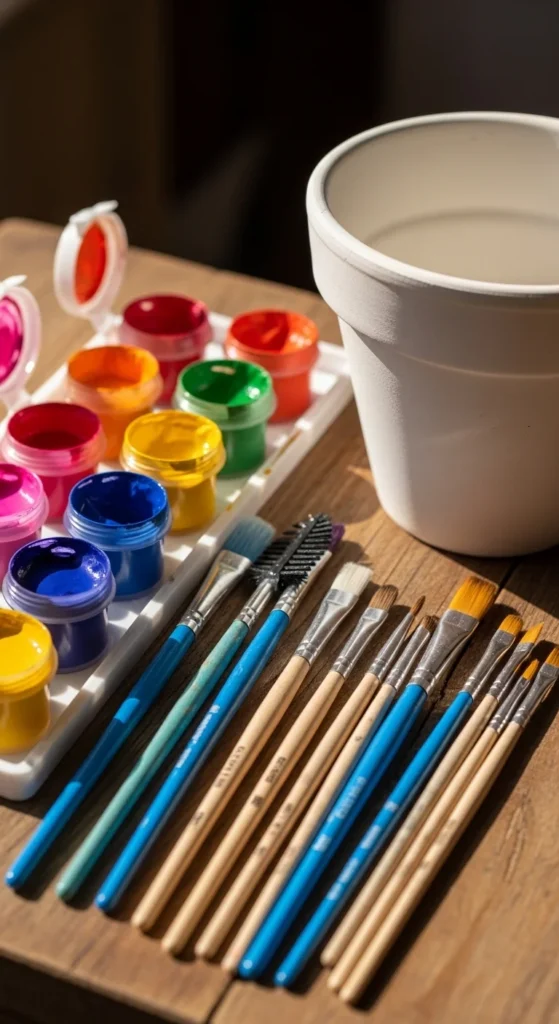
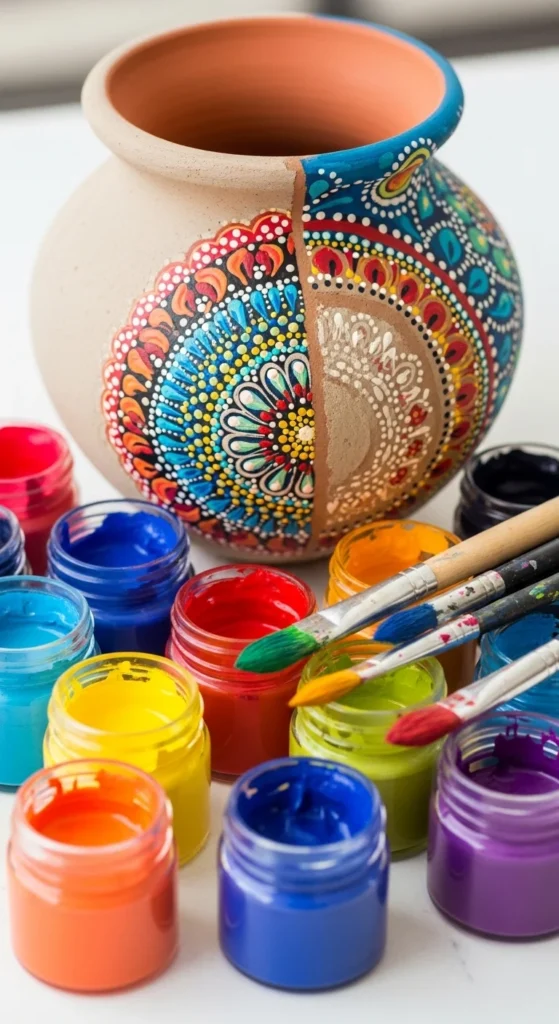
Before diving into the painting, it’s important to gather all your materials. Having everything ready makes the process smooth and enjoyable. Here’s a simple checklist:
- Plain terracotta clay pots (any size)
- Acrylic paints in various bright colors
- Fine-tipped paintbrushes and dotting tools
- Pencil and eraser for sketching patterns
- Palette for mixing paints
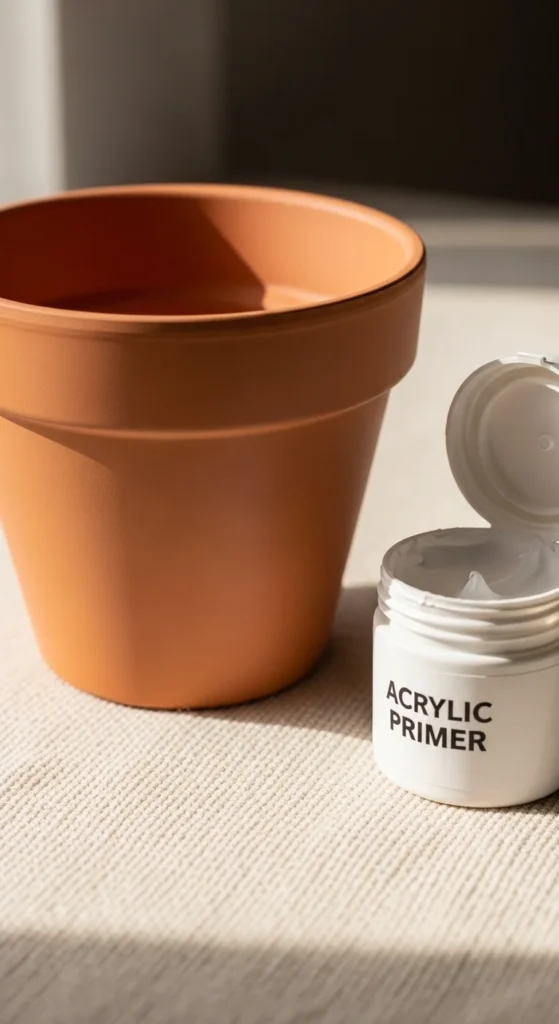
- Clear acrylic sealer (optional, for outdoor pots)
Step 1: Prep Your Clay Pot
Start by cleaning your clay pot thoroughly to remove any dust or residue. If your pot has been used before, give it a gentle scrub with soap and water and let it dry completely. A smooth, clean surface ensures that your paint will adhere properly and last longer.
- Lightly sand the pot if it feels rough to the touch.
- Wipe it down with a damp cloth to remove dust from sanding.
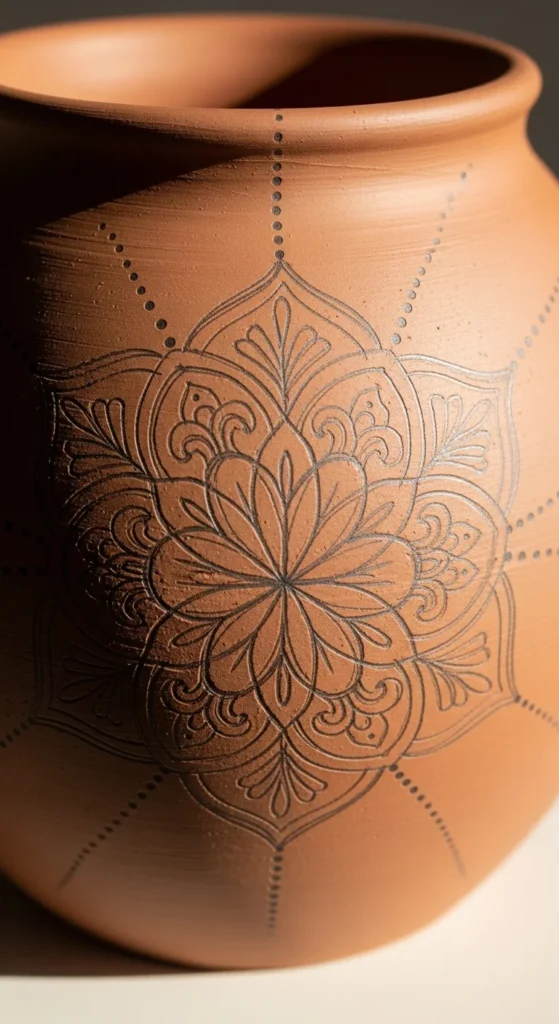
Step 2: Plan Your Mandala Design
Mandala patterns are all about symmetry and repetition. You don’t need to be a professional artist—simple shapes and dots can create beautiful designs.
- Use a pencil to lightly sketch concentric circles on your pot as a guide.
- Divide the circles into segments like a pie chart to help maintain symmetry.
- Plan your color scheme before starting, using 3–5 complementary colors for balance.
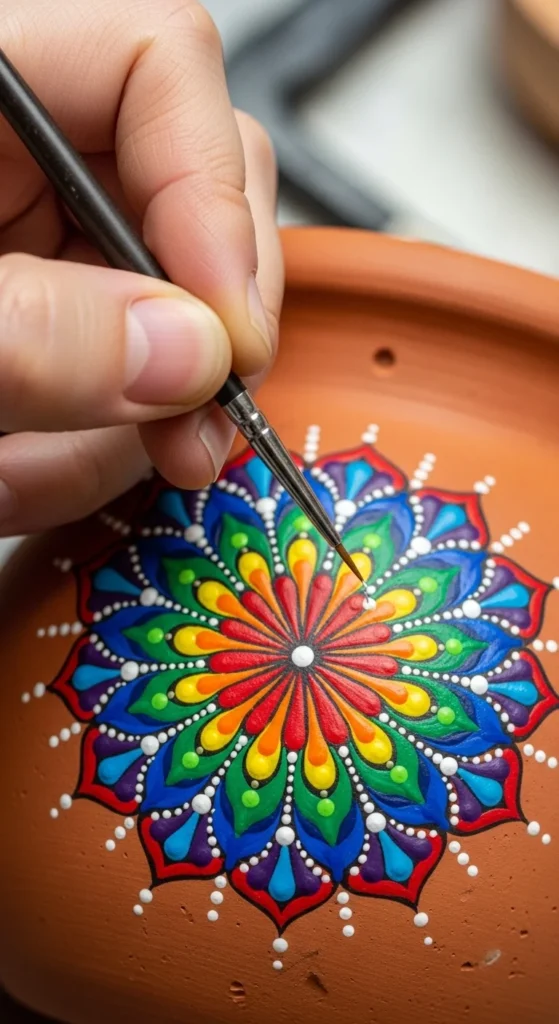
Step 3: Start Painting Your Mandala
Now comes the fun part! Begin painting from the center of the mandala and work outward. This keeps the design balanced and prevents smudging.
- Use fine-tipped brushes for intricate lines and dotting tools for perfect dots.
- Apply thin layers of acrylic paint, letting each layer dry before adding more.
- Mix colors for gradients or use contrasting colors to make your design pop.
Tips for painting:
- Start with basic shapes like circles, triangles, and petals.
- Repeat patterns in each segment for a harmonious look.
- Keep a damp cloth nearby to wipe mistakes quickly.
Step 4: Add Details and Highlights
Once your main design is done, enhance it with fine details:
- Add tiny dots along the edges of shapes for texture.
- Use a metallic or white paint for subtle highlights that make the colors pop.
- Experiment with layering small shapes on top of larger ones for depth.
Step 5: Seal and Protect Your Artwork
If your pots will be placed outdoors, sealing them is important to protect your artwork from the elements.
- Apply a clear acrylic sealer evenly over the entire pot.
- Let it dry for several hours or overnight before use.
- Indoor pots can also be sealed for extra durability, though it’s optional.

Final Tips for Mandala Magic
- Practice makes perfect—try your design on paper before committing to the pot.
- Don’t be afraid of bold colors; mandalas are meant to be eye-catching.
- Share your creations with friends or use them as unique gifts.
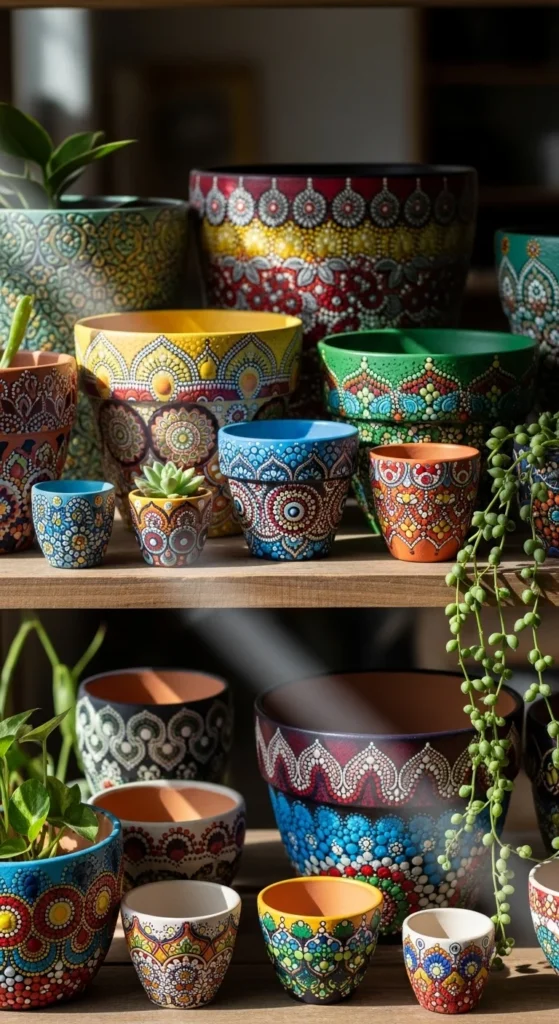
Decorating clay pots with mandalas is more than just a craft—it’s a creative meditation that results in a functional piece of art. With these steps, you can turn ordinary pots into vibrant, personalized masterpieces.
Save this guide for your next craft day and let your creativity bloom!

Leave a Reply