

Clay pots are a classic canvas for bringing a cozy, rustic farmhouse vibe into your home or garden. With their earthy texture and timeless shape, they can be transformed from plain to charming with just a few simple techniques. Whether you’re a seasoned crafter or a beginner looking for a fun weekend project, decorating clay pots can add warmth, personality, and farmhouse charm to any space.
Let’s dive into some creative ways to decorate your clay pots so they perfectly fit a rustic farmhouse aesthetic.
1. Prep Your Clay Pots
Before you start decorating, it’s important to prep your clay pots properly. This ensures paint, stains, or embellishments adhere well and last longer.
Steps:
- Wash your pots with warm, soapy water to remove any dust or debris.
- Let them dry completely.
- If your pots are unglazed, lightly sand the surface for a smoother finish.
- For a rustic look, you can leave some natural imperfections—they add character!
Tips:
- Avoid glossy finishes; matte or chalky textures work best for farmhouse vibes.
- Consider the size and shape of each pot to match the decor style you’re aiming for.

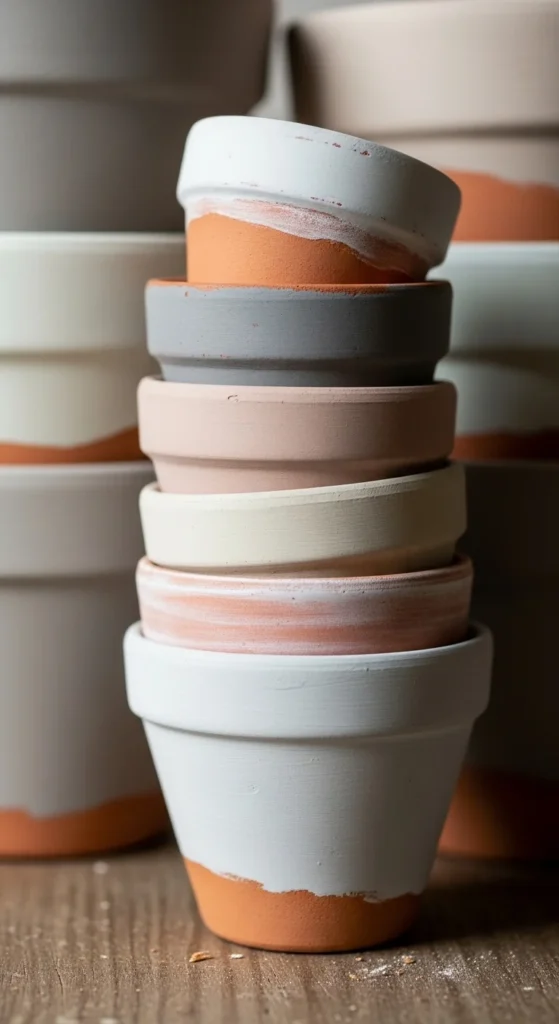
2. Chalk Paint for a Soft, Weathered Look
Chalk paint is a favorite for farmhouse-style decor because it gives that soft, matte, slightly worn appearance.
Steps:
- Apply a base coat of chalk paint in muted, earthy colors like cream, sage, or dusty blue.
- Let it dry completely.
- Lightly sand edges and raised areas to create a natural “distressed” effect.
- Optionally, seal with a matte finish to protect the paint.
Tips:
- Layering two complementary colors can add depth. For instance, a cream base with a hint of pale green over the top.
- Don’t worry about perfection—imperfections make it look authentically rustic.
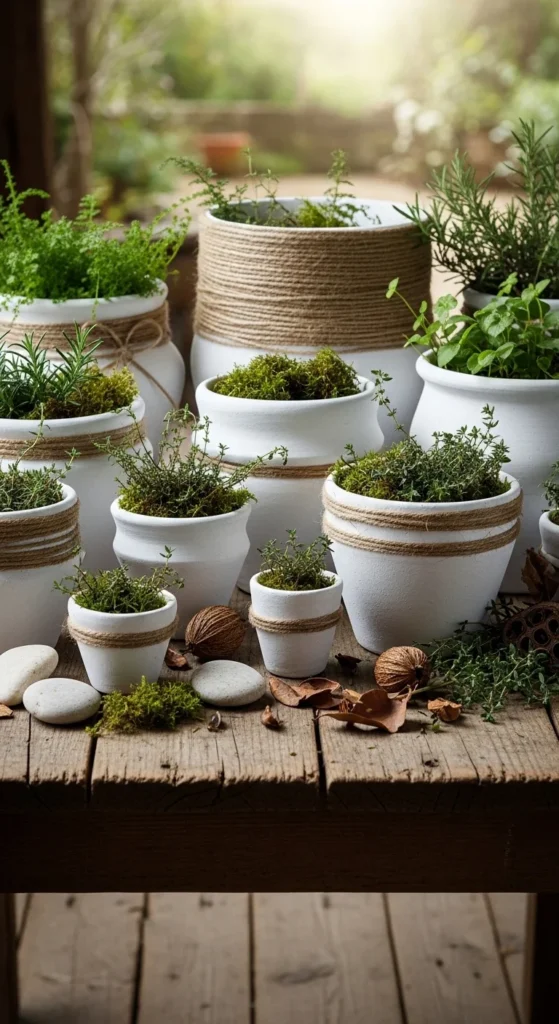
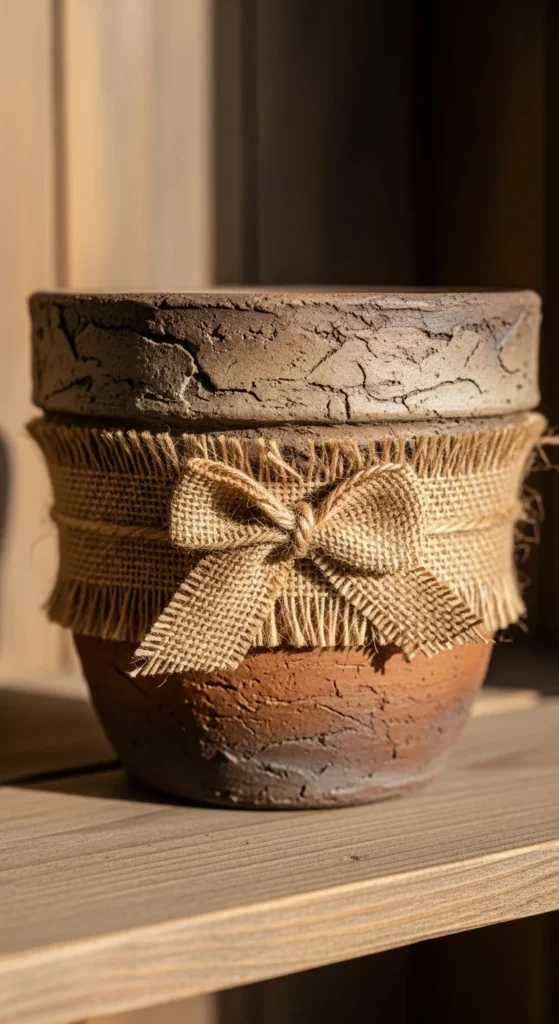
3. Twine, Rope, and Fabric Accents
Adding texture with natural materials instantly gives your pots a cozy farmhouse feel.
Ideas:
- Wrap the rim or body of the pot with jute twine or thin rope. Secure with hot glue.
- Tie a small burlap bow around the pot.
- Layer fabric strips around the base for a shabby-chic look.
Tips:
- Combine twine with small decorative elements like wooden beads or dried flowers.
- These accents are great for pots that won’t be heavily watered, as moisture can loosen the glue over time.
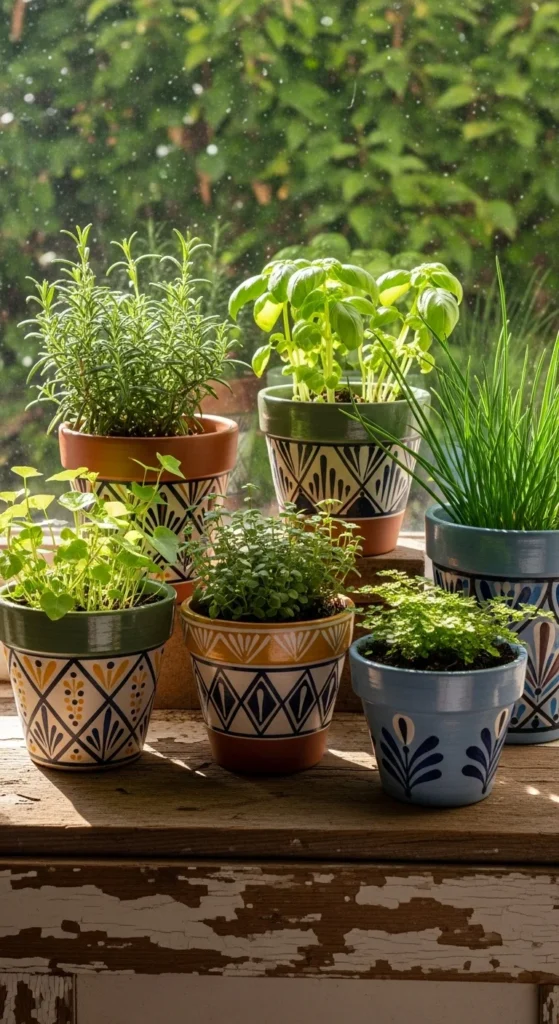
4. Stenciling and Hand-Painted Designs
For a personal touch, try stenciling or hand-painting patterns onto your clay pots.
Steps:
- Choose simple, farmhouse-inspired motifs: hearts, leaves, stripes, or floral patterns.
- Use acrylic paint or chalk paint for best results.
- If stenciling, secure the stencil with painter’s tape to avoid smudges.
- Allow the design to dry completely before adding any sealant.
Tips:
- Keep it simple; farmhouse style thrives on understated charm.
- Use white or soft pastel paints on darker pots for a cozy contrast.

5. Combine with Greenery for Maximum Impact
The final step is pairing your decorated pots with plants. Simple greenery brings life and completes the rustic farmhouse look.
Ideas:
- Use herbs like rosemary or thyme for kitchen counters.
- Small indoor plants like ferns, ivy, or succulents work beautifully.
- Mix and match pot sizes and textures for a layered display.
Tips:
- Consider a mix of tall and short plants for visual interest.
- Group pots together on a wooden tray, bench, or windowsill to create a cohesive farmhouse vignette.
Final Touches and Maintenance
To ensure your pots remain charming over time:
- Avoid harsh cleaning; a damp cloth usually suffices.
- Reapply matte sealant for painted pots as needed.
- Rotate plants and decorations seasonally to keep the display fresh.
Decorating clay pots for a rustic farmhouse style is all about embracing natural textures, soft colors, and simple patterns. These small DIY touches can turn any space into a warm, welcoming environment.
Takeaway:
Try mixing painted, twine-wrapped, and stenciled pots for a layered, cozy look. Save these ideas and start your rustic farmhouse project this weekend!

Leave a Reply