

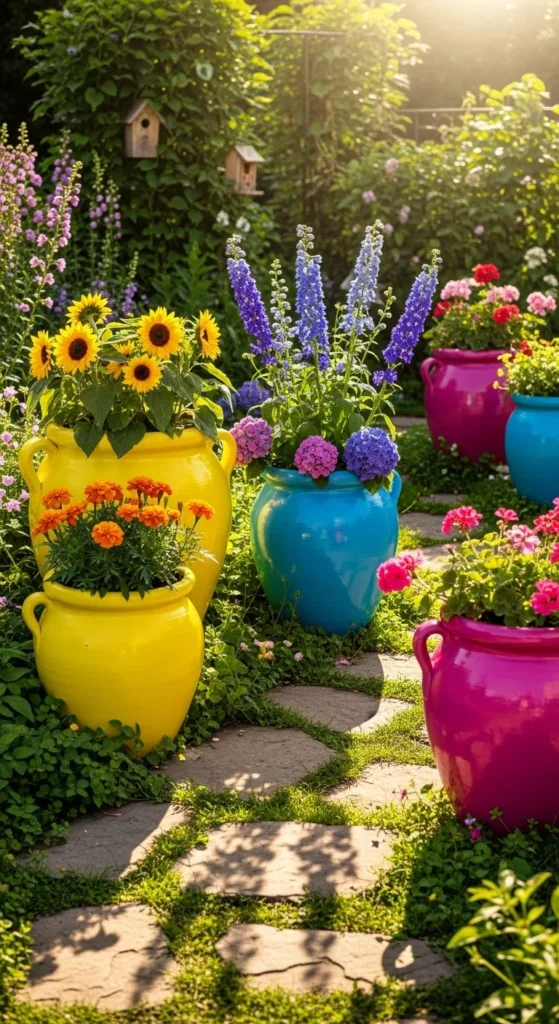
Transforming plain clay pots into colorful, eye-catching garden pieces is easier than you might think. With just a few supplies and a splash of creativity, you can turn ordinary terra cotta into vibrant works of art that make your garden pop. Whether you’re a seasoned gardener or just looking to add some cheer to your patio, painting clay pots is a fun, satisfying project.
Gather Your Materials
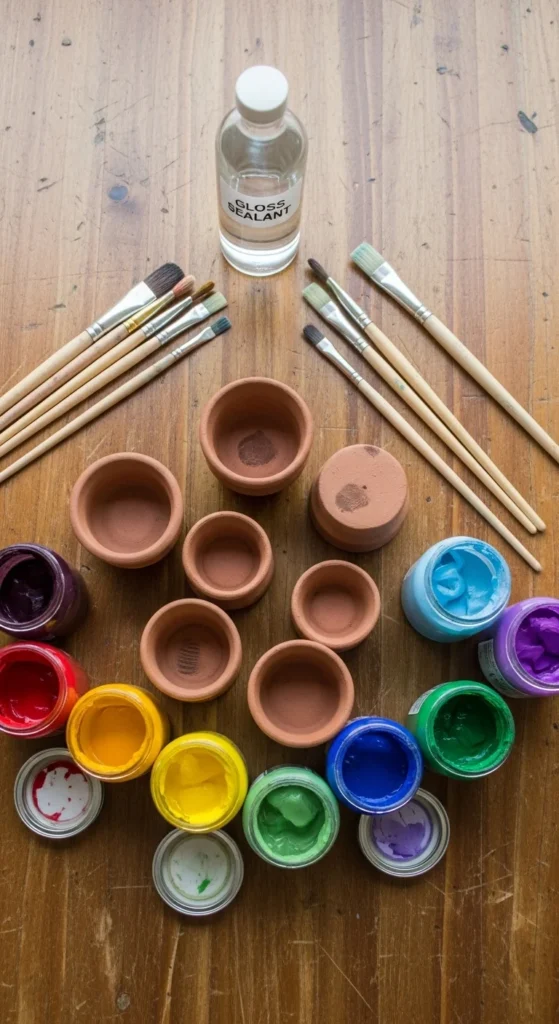
Before diving in, make sure you have everything you need:
- Plain clay pots (various sizes for variety)
- Acrylic paints or outdoor-safe paints
- Paintbrushes (small for details, medium for broad strokes)
- Painter’s tape (for creating clean lines)
- Primer (optional but helps paint stick better)
- Clear sealant (for protecting your artwork from rain and sun)
Tips:
- Choose paint colors that complement your garden flowers.
- If you want a playful vibe, pick bold, bright shades. For a more serene look, stick with pastels or earthy tones.
Prep Your Clay Pots
Preparation is key to a long-lasting paint job.
- Clean the pots – Wash away dust or dirt with mild soap and water, then let them dry completely.
- Prime if needed – A coat of primer will help the paint adhere better and make colors more vibrant.
- Tape off sections – If you want stripes, geometric patterns, or other designs, painter’s tape keeps edges crisp.
Pro Tip: Lightly sanding the pot’s surface with fine sandpaper can make your paint stick even better.

Get Creative With Your Painting Techniques
Now comes the fun part—painting! There are several techniques to try:
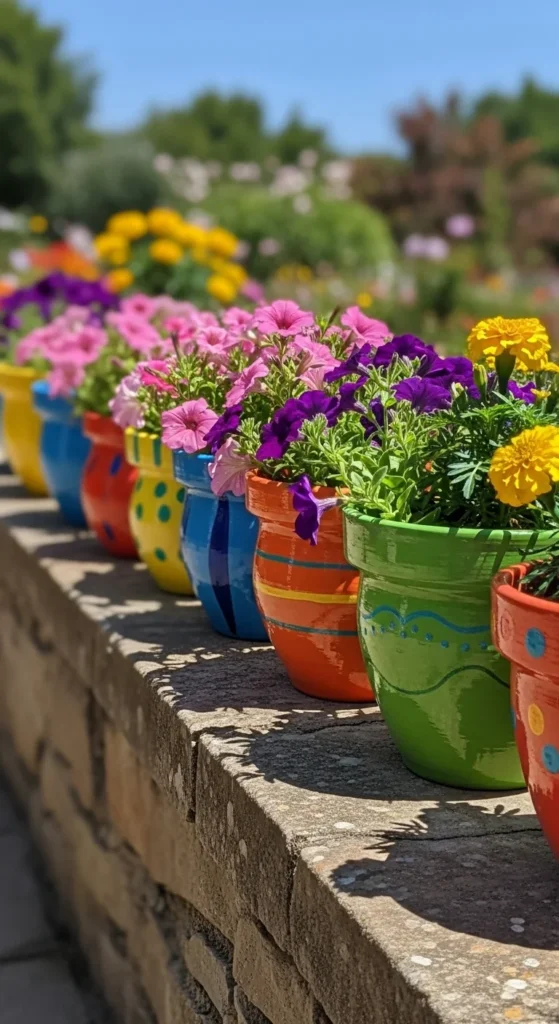
- Solid Color – Paint the entire pot one color for a clean, bold look.
- Stripes or Patterns – Use painter’s tape for stripes or freehand dots, chevrons, or floral patterns.
- Ombre Effect – Blend two or more colors for a gradient effect.
- Stenciling – Use stencils to add intricate designs or motifs.
Tip: Start with lighter colors first and layer darker shades on top to prevent muddiness.

Seal and Protect Your Masterpiece
Once your paint is dry, it’s important to protect your pots from the elements:
- Apply a clear sealant – Spray or brush on a waterproof sealant for outdoor durability.
- Let it cure – Follow the sealant instructions for drying time to ensure a long-lasting finish.
- Place your pots carefully – Avoid areas with standing water to prevent the paint from peeling over time.
Extra Tip: For indoor use, a simple clear coat is enough, but outdoor pots need a sealant designed for weather resistance.
Arrange and Display Your Painted Pots
Once your pots are painted and sealed, it’s time to bring your garden to life:
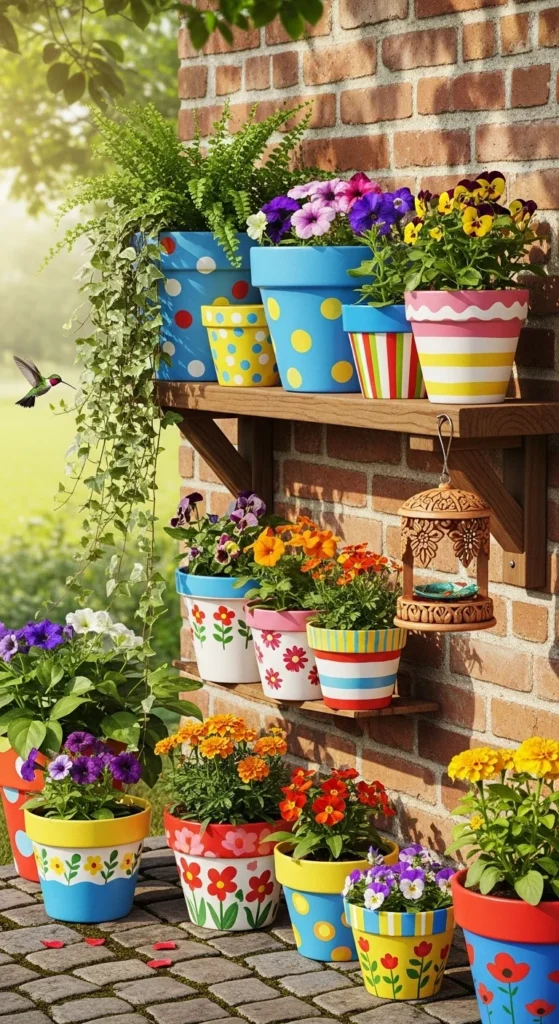
- Group pots of different sizes and colors for visual interest.
- Place bright colors near neutral backgrounds to make them pop.
- Mix flowering plants with green foliage to create depth and texture.
- Rotate plants seasonally to keep your display fresh and dynamic.
Pro Tip: Small painted pots also make charming indoor décor or gifts.
Final Thoughts
Painting clay pots is a simple way to add personality and color to any garden. The best part? There’s no wrong way to do it—just let your creativity flow. Start with a few pots, experiment with patterns and colors, and watch your garden transform into a vibrant oasis.
Save this guide for your next weekend project and bring a bright, cheerful vibe to your outdoor space—your garden deserves it!

Leave a Reply